Sam's Proper MX-3 - LT Turbo project *Parting out*
-
Oooooooch! You must have a cast iron consitution when approachin speed humps? :shock:
On the plus side tho, every scrape will remove some metalwork, and hence increase power to weight ratio, eventually :rofl:
Hope your re-test is successful fella :PIs there any thing in the way of camber adjusting bushes/arms available for mexys?
As regards the rear brake 'winder-inner' i have had some success with 'long nosed pliers'? still, nothing makes the job sweeter than the correct tools, they do preserve fittings, swearing and knuckle skin! :lol:
-
Haha speed bumps are to be avoided like the plague! It would never make it over. Hopefully the day never comes where I drive down a one way street with a series of speedbumps on it, I would be fuct!
Yeah wonder how many grams I have shaved off already! probably offset though by the 4mm stainless steel sumpguard..
Camber wise yes there are a few options : Camber bolts (would not recommend) Coilovers are the better option which have camber plates on top.
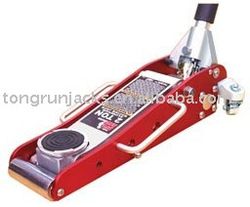
Or you can go old skool and slot the hub holes and use a serrated flange nut in place of the stock item. I have been thinking about fitting front RX-7 ball joint arms as these are supposed to be 10-15mm longer giving a few degrees of negative upfront.I cannot fit rear disc/pads yet as my jack has just seized up (that little turn screw has seized and nearly dropped the car on my hand yesterday!) So it is time for a new low pro jack which should be arriving Wednesday.
So will probably wait for the winder tool, thanks for the tip though on the pliers, always good to know for those without the winder.
-
Mmm! thats a nice jack is that 8) Where do you normally place jack pad when
lifting? I usually use the box section that runs parallel to sill, although it looks like its been deformed at sometime? but not by me cos I spread load with oak plank :o
I have never in my motoring history jacked a car up by its sills!!! (just seems like asking for trouble to me?) Yes if seam welded! but not spot welded sills with the notch front and back for the 'meccano' scissor jack :shock:How much for the LP jack? is it alloy?
Youd be fooked round this neck of woods fella with speed humps, I can count at least 25 in a half mile radius, Ive got standard 4x4 ride height but slightly nose down attitude due to 195 x 50 x 15 (worn) up front and even I wince while plodding over em! fookin shocking, NO NEED! :(
Take care under ya car anorl, new jack or not! might be more than just ya hand one day!!! :shock:
-
My usual jackin up method involves 1) Driving up onto wooden blocks 2) using OE scissor jack on the sill to raise another 20mm or so 3) Wheeling the trolley jack underneath the front subframe just behind the radiator… Big hassle!
Yes it is Alu and it was around £100 delivered, lowest spot on the jack is 90mm still will have to drive onto the wooden blocks I would imagine, but atleast now I can leave the sill alone.
Aye baffles me why they spend so much money trying to make roads flat then fuk it all with speedbumps. I can luckily go to most places that I need and just park in different spots if I have too...Although the potholes outside work are growing now the buses keeping pounding them... Ohh to have Japans roads!
Will do Pal ta I have a few 'spotters' that walk and work nearby so if anything did happen I would be in shouting distance... that's if they could hear me lol
-
New discs and pads fitted to the rear today. Old discs where so seized on I had to heat them up with a blow torch and smash fuck out of them… it was great :D I didn't need the brake winder tool, just used long nose pliers! Which is lucky as the Fella I was suppose to be borrowing one from forgot to bring it work like 5 times!!
Handbrake does not feel that great yet, I'm imagining it's self adjust after a few miles??!!
Got to book a retest for Monday/Tuesday, and once She has passed I will be keeping Her on the road for the forseable future! and have maybe a week or so off work to fit the Tubby.
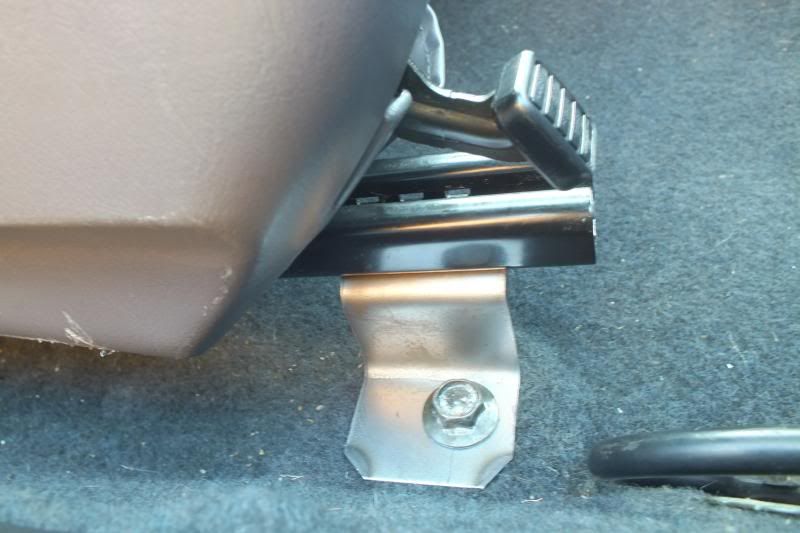
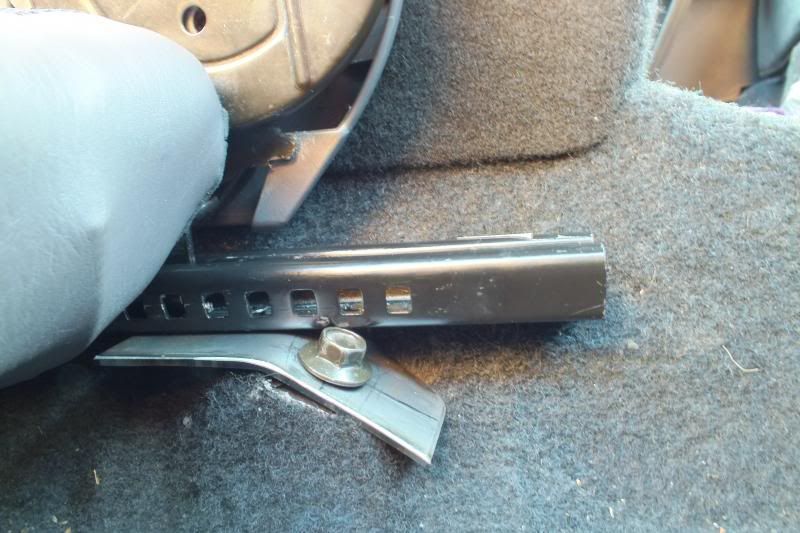
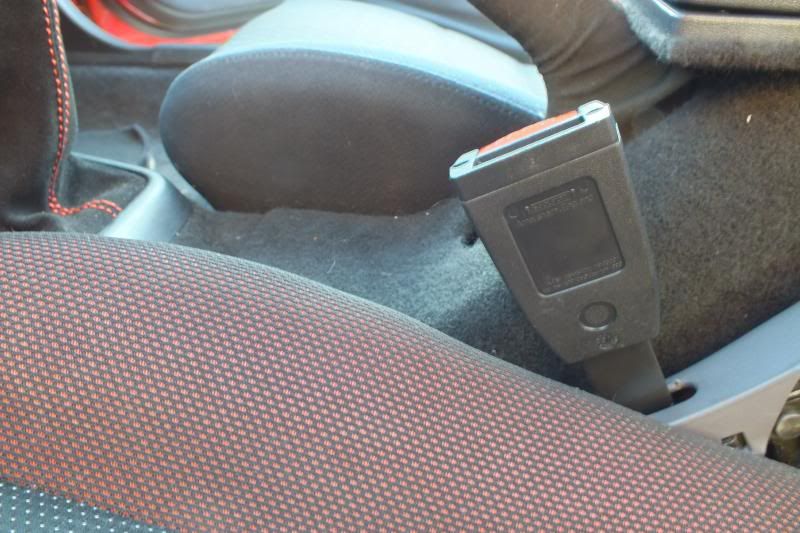
Already started work on the driver side seat brackets and new seat belt buckle assy, and decided I do after all want to machine the dish of my wheels before painting them Gold...
-
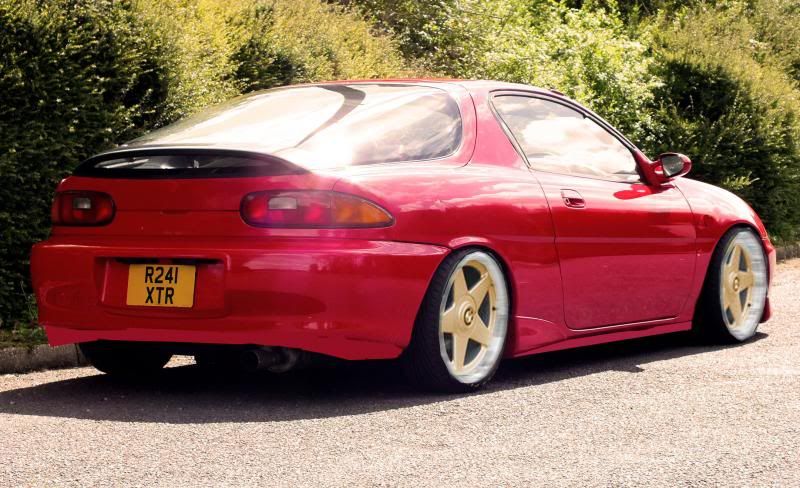
That' d look the nuts, Photoshop??? :D
I wouldnt bother wi tyres fella!! just paint the tyre bead black :rofl:
Rubber bands or what!!!! :shock:I know what ya mean about things seizing, wanted to strip both my drive shafts and check/regrease em, thought id struggle wi nuts, no prob wi 100" 1/2" breaker bar!!! then it came to pushing outer from hub, think mine were welded at factory?????, tried every trick I/we/you/they know, Then my father pipes up!! "Make a plastercine dam around spline end, fill with 'plus gas' leave it for about two cups of tea, wipe away excess, refitnut hand tight, back it off ONE full turn and stake it! refit wheel, now bugger off home lad (as I was in my fathers garage as it has an inspection pit) and on way home (about 10 miles B roads, give it some beans and jump on brakes occasonally! take wheel off 'TAP' hub nut in and tell me what ya find?
BOTH! moved in quite freely about 1-2mm or so!!! genius father :o
unstaked nuts, nipped em up, restaked, then re scheduled another visit 'back home' next friday for easier removal etc.Yes I have a liking for gold n silver against red its the bizzness, do it!!!! :respect:
That bloke will bring the tool when youve had car on road a month or so!! :shock:
Wish i dare go low like that, trouble is my 46 yr old 'SPINE' has an opinion all of its own! :( (and dictated by shat! south yorkshire roads!!! as mentioned before)
'Superfantastico' job there fella :P kev b.
-
Cheers Fella yep photoshop, think I went bit overzealous on the wheel size! Does sit it almost "Hellaflush" (making the tire almost disappear your right!)They look a tad big to me though but the concept of getting the machined alu. look on the rims I'm happy with as I could never quite getting it looking right.
Quality story mate, I shall remember that for doing Hub nuts as a few I have done before have been a real piece of work and it usually take the "two cups of tea method" :D
Going that low is a serious lifestyle choice :? :) 8)
-
Passed! On a free retest, will be able to afford road tax now :o
Got a few advisories: Offside rear anti roll bar linkage has slight play, service brake only just met requirements (New cables? calipers?) Different size tires fitted to front axle then rear and my personal favourite : Front tires very close to bodywork 8)
-
Sweet, back on the road. :respect:
-
12 month ticket :P nothing better x congrats :D
I would check sliders on both rear calipers? and take a peek at inner and outer surfaces of rear discs to see if they're in a similar condition? if one side has a 'Dickinson tan'? then a slider has prob seized??
I know its only an advisory, but if ya leave it, it might bite ya in 12 months time :shock:
If it does turn out to be sticky sliders, when freed/rectified, de-glaze disc and pad with some 200 grit Wet and Dry/emery clothIll bet ya leaving the 'tyre too close to bodywork' advisory 'WELL' alone??? :rofl: :respect:
kev b.
-
Nice! So is it still going off the road? Have you tried adjusting the handbrake at the bolt under the gaiter?
-
Ay up Marco, how goes the fix and repair :) ????
-
Update just for you :lol:
-
It has new rear discs & pads, sliders were all very clean so I just added some more red rubber grease and the handbrake cable under the gaiter is adjusted up to the max.
Just scraped enough together for another 6 months road tax so She is well and truly on the road again. :D
-
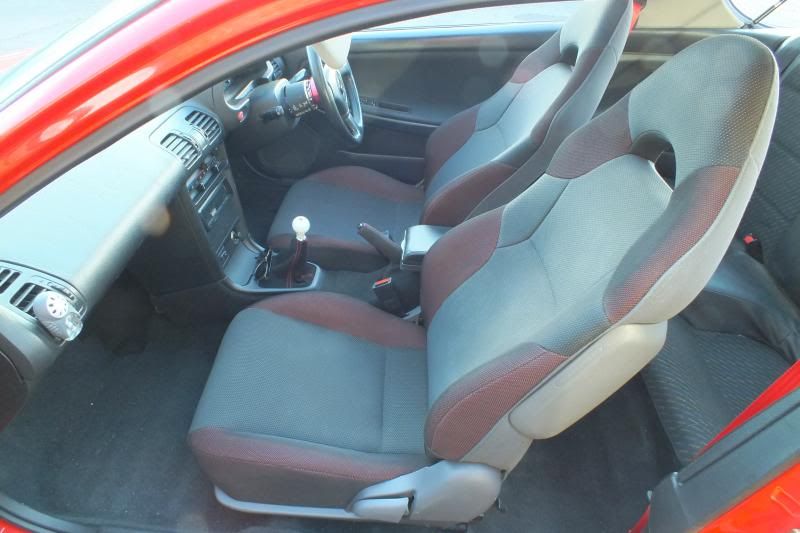
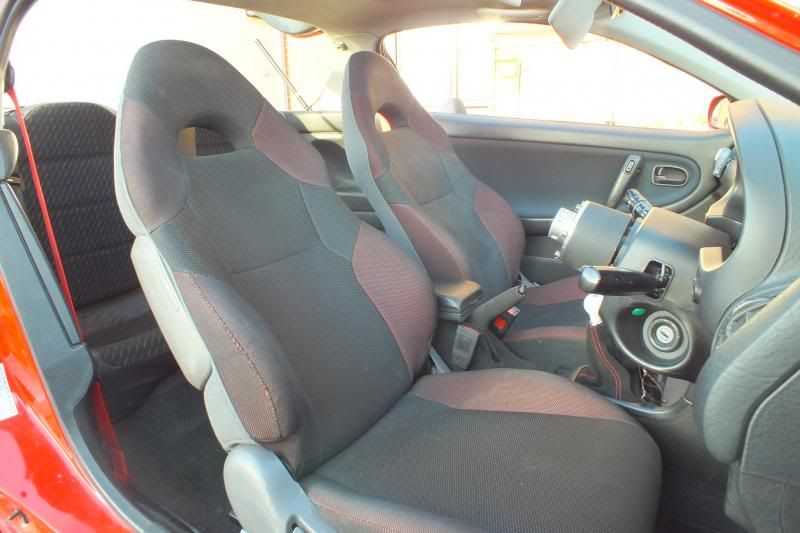
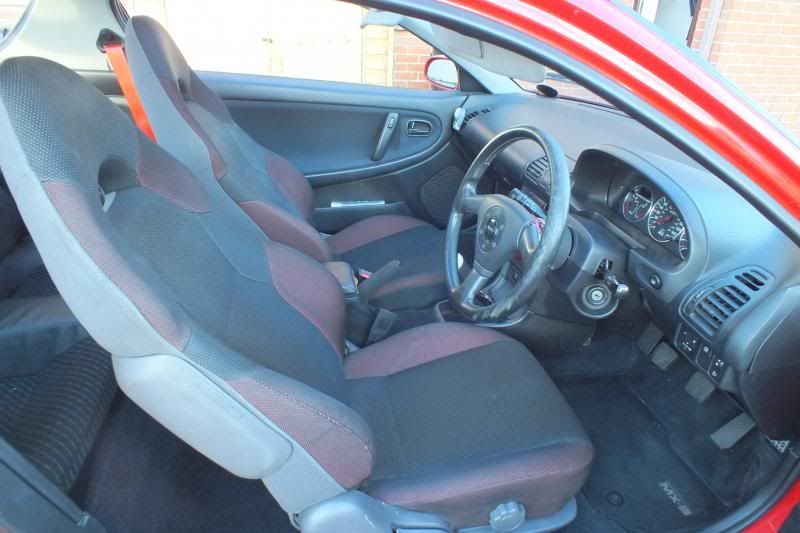
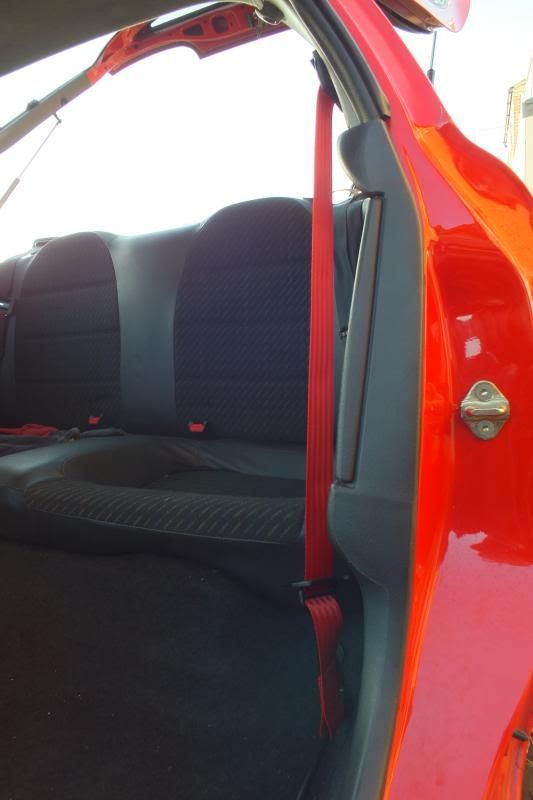
Been working like a dog since it passed to get these seats and belts fitted! Made the rear brackets yesterday and another lunchtime session today making another set for my side!
Securon 500/15 red belts fitted great, few mods needed to get these to work but not a great amount.
-
Those belts are really very sexy :shock: Seats looking great!
-
Cheers man hows about these then! all in there now. Too mashed from today though to test ride em out….
-
Vvvvvery nice seat install fella :) Do they have all the same adjustments as mexy's? Whats the wheel do on 'base cushion' side? Driver only?
-
Cheers Bro! Both seats have full tilt on the backs and sliders forward on the whole seat allowing rear passengers to get in but only the drivers side has the seat base adjusting tilt like the mexy via that rotary knob.
-
Excellent choice :) What about firmness as apposed to mexy? The most comfortable and adjustable seat I have planted my rear on was in a 94 Honda prelude LSi :P They were black velour so no 'slip slidey abouty' they had manual side bolster and lumber, but electric fore and aft, lift, and tilt, both passenger and driver! They were as I remember quite narrow but incredibly heavy and expensive to repair/replace. I occasionaly put a search in ebay for them but as yet no luck, and of those that do surface they're in the same state as a tramps favourite pair of undercrackers! :shock: Your install appears to be an excellent alternative???? :bigok: kev b.
