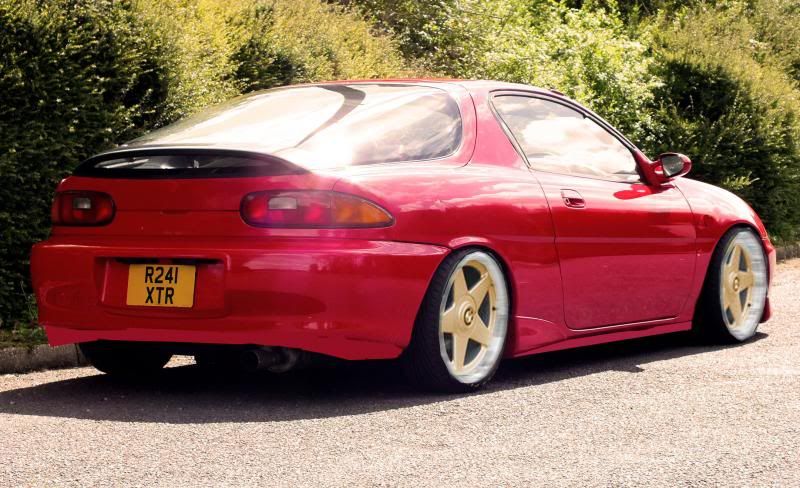
Sam's Proper MX-3 - LT Turbo project *Parting out*
-
With a few gaps in the rain today I went out and affixed the new fan to the rad, then it was time for something a bit more fun then fixing broken shit, and that was to break some shit…
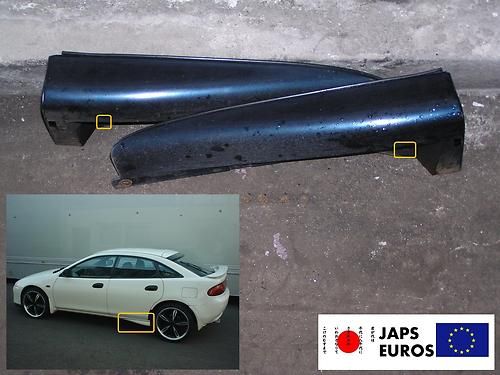
Remember those full length side skirts I have, well not full length anymore after I hacksawed the end off. Booom front mini spats!
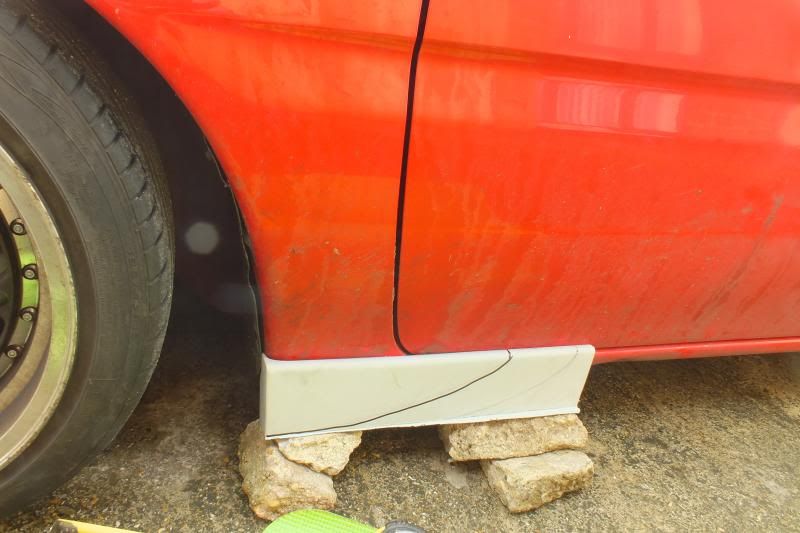
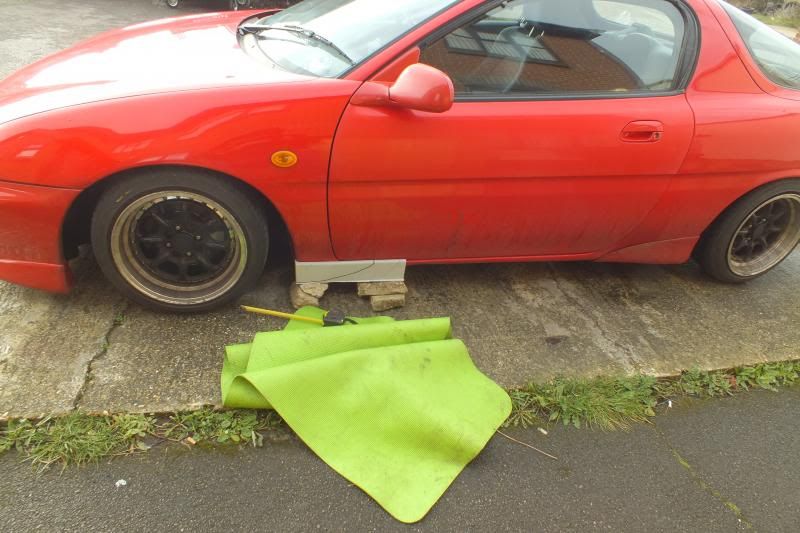
Got hold of a set of these also to see if they will work as an add on to the euro mini rear spats!
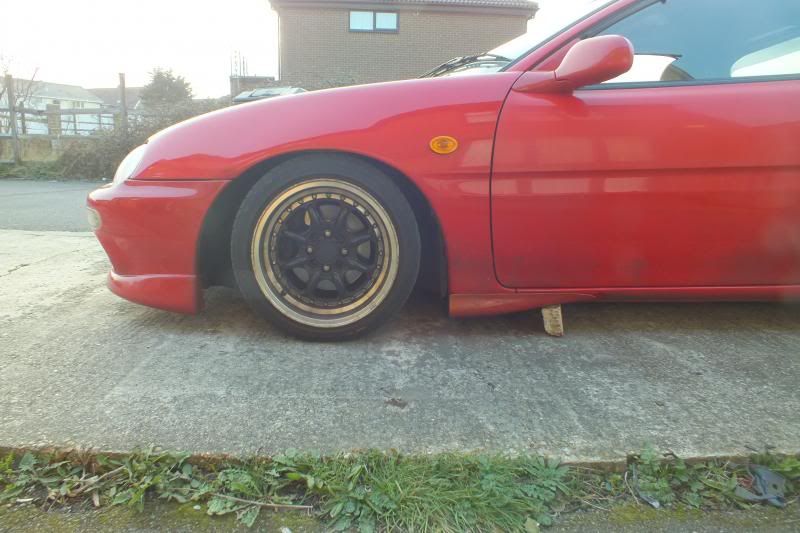
Also note stock wing mirrors back on, and the generally filthiness of my car…
Turns out the 323 spats fit better on the front :D
-
New radiator, working fan, OE top hose with filler neck and tucked coolant overflow tank fitted today.
Running well so far, no leaks will empty and top up with anti freeze tomorrow. Need to make some sort of rad. support too now.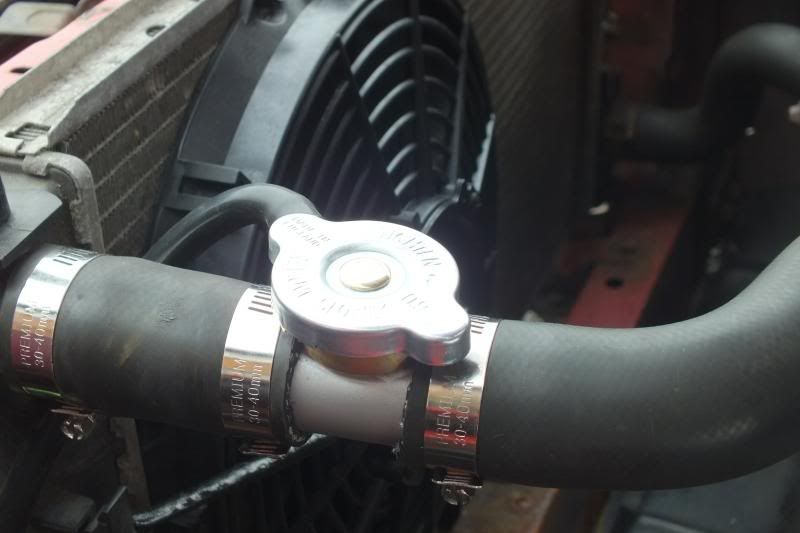
-
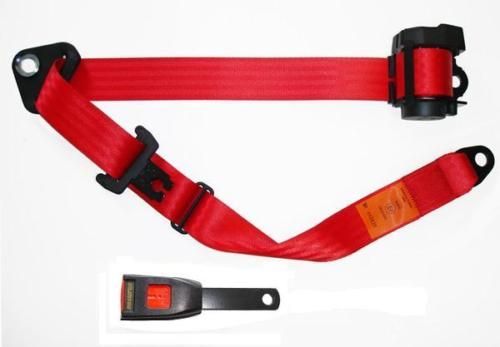
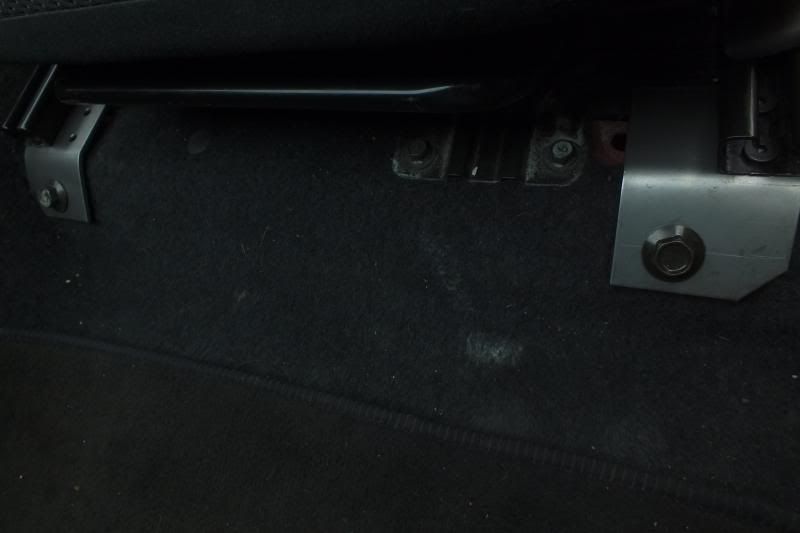
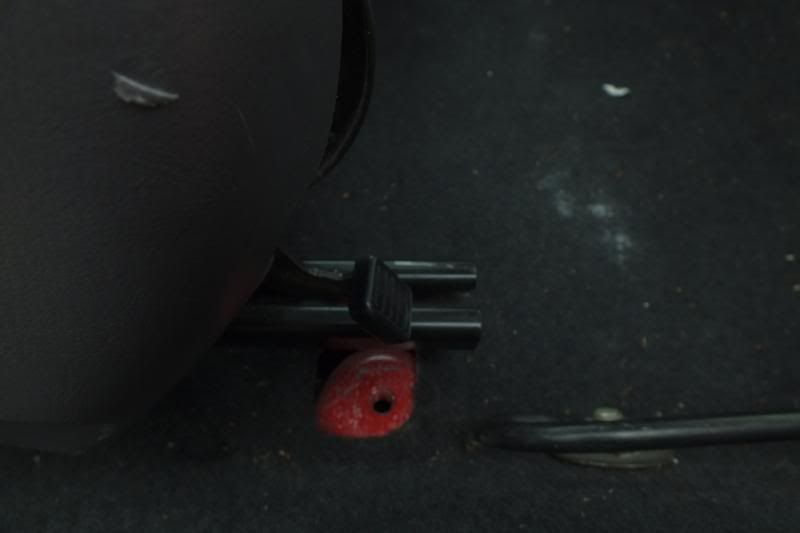
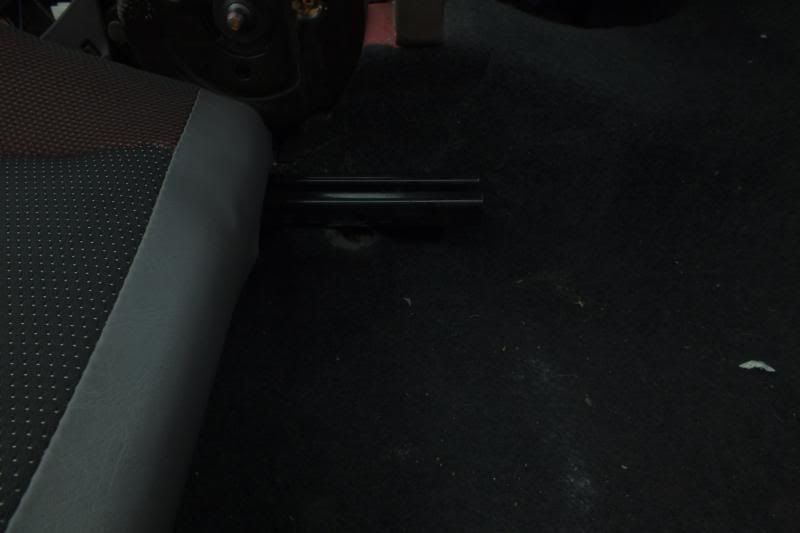
New seat feet are coming together nicely, got these bolted on today and will be drilling the main holes ready to be fitted then will make a start on the rears. On a side not I'm in talks with a company who refurbish seat belts and can re-webb them to any colour, might go with dark red and get them to put a Celica belt clip on to save me swapping over the seat belt stays.
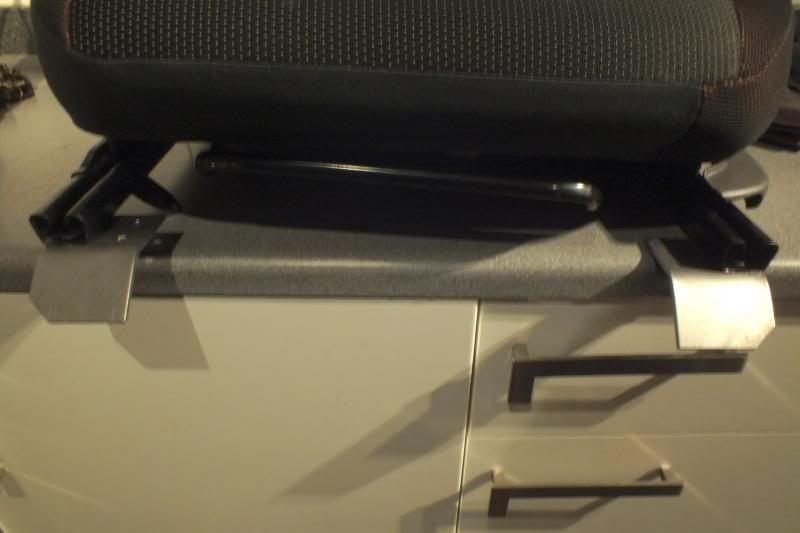
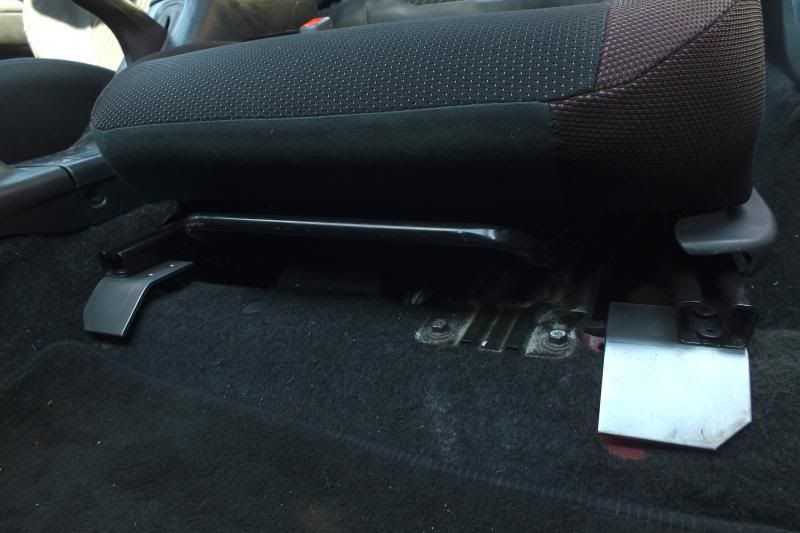
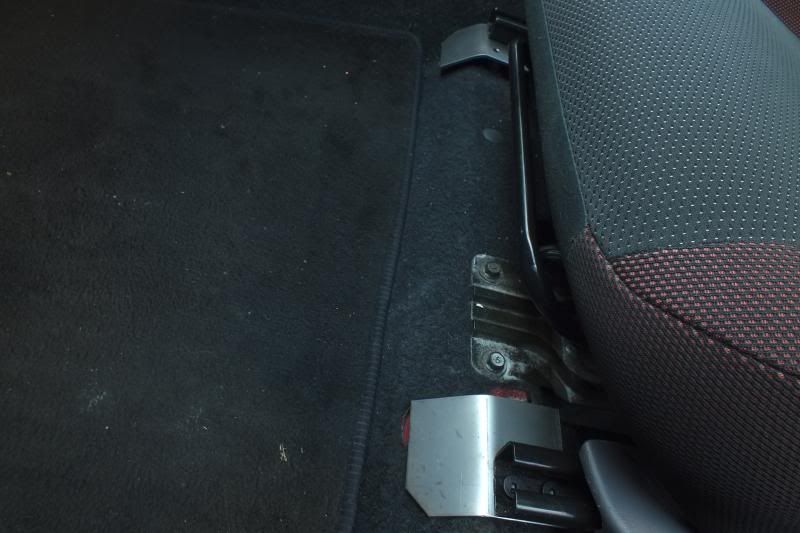
Fronts now bolted, which means the rears can be exposed so I can get working on them now!
Also on the agenda for this bank holiday weekend:
MAF clean.
New spark plugs.
Forte fuel treatment.
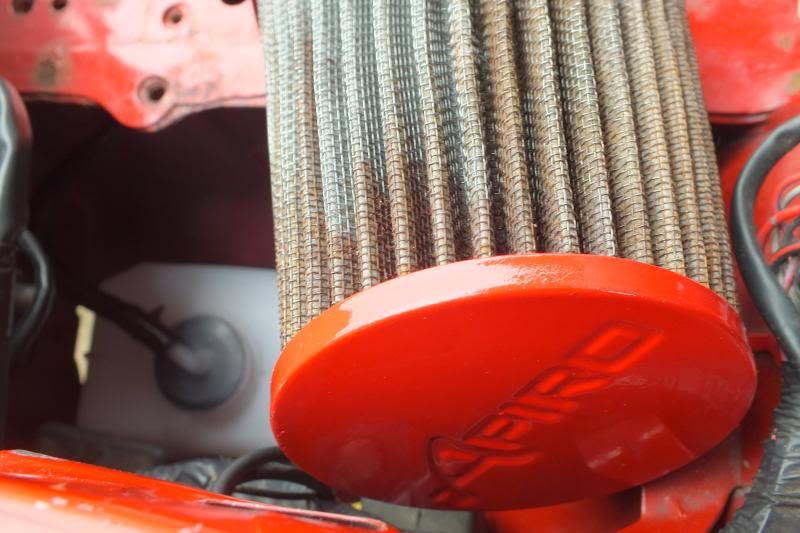
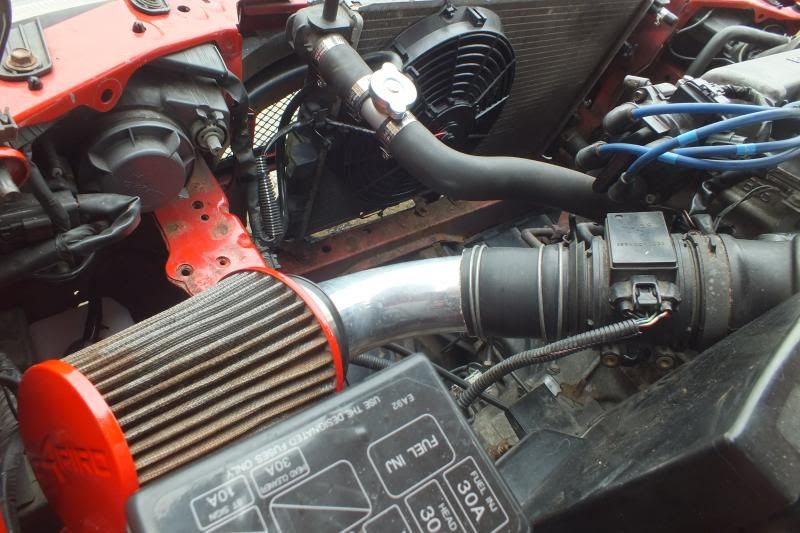
Ramair foam cone filter (stainless one has gone rusty!)
Replace perished concertina air pipe with aluminium item I was saving for the turbo.
New cat. for the impending MOT.
-
Car is still off the road for pre MOT jiggery! Only thing left to do is fit the CAT
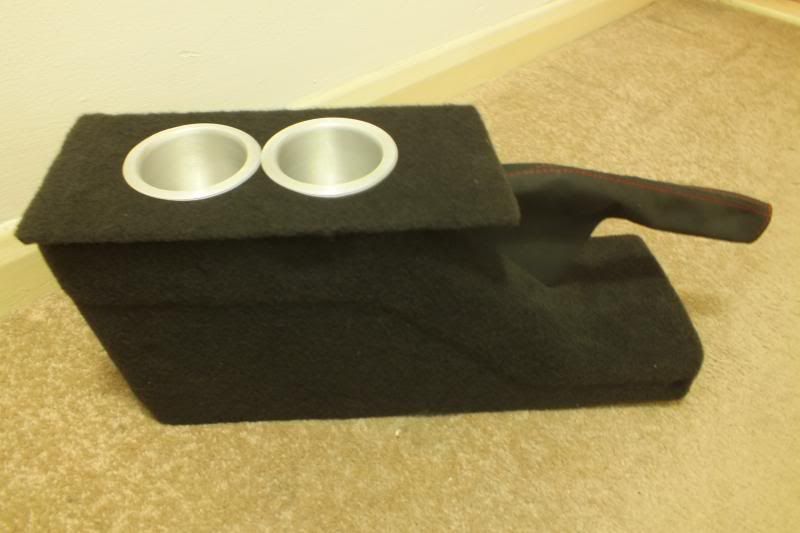
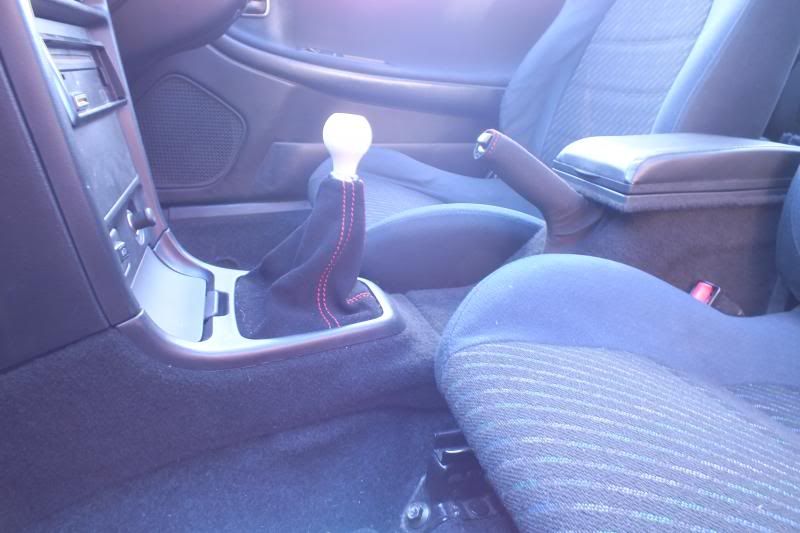
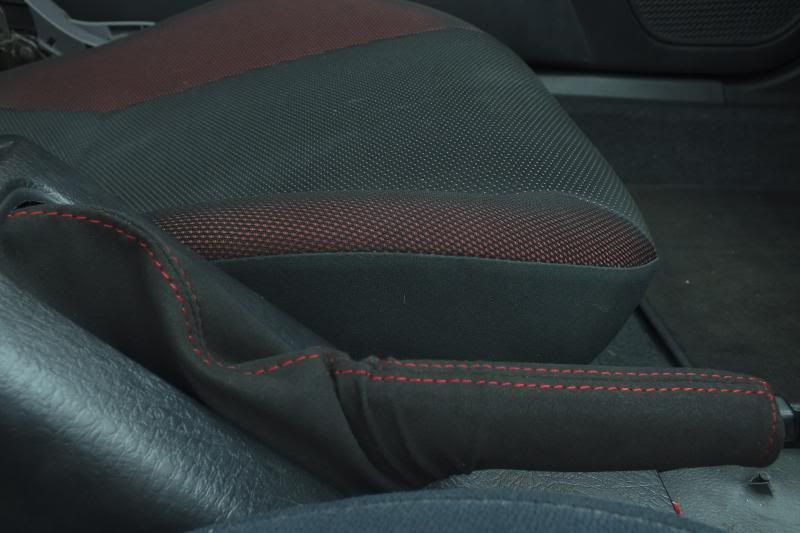
up tomorrow.So while i'ts stationary I'm fitting out the interior a little with suede gaiters, carpeted (speakerbox materiel) centre console, and additional armrest with cup holders. Took a punt on this 01>03 Civic handbrake gaiter, seems to slide over original rubber handle quite well.
Sneak peak!
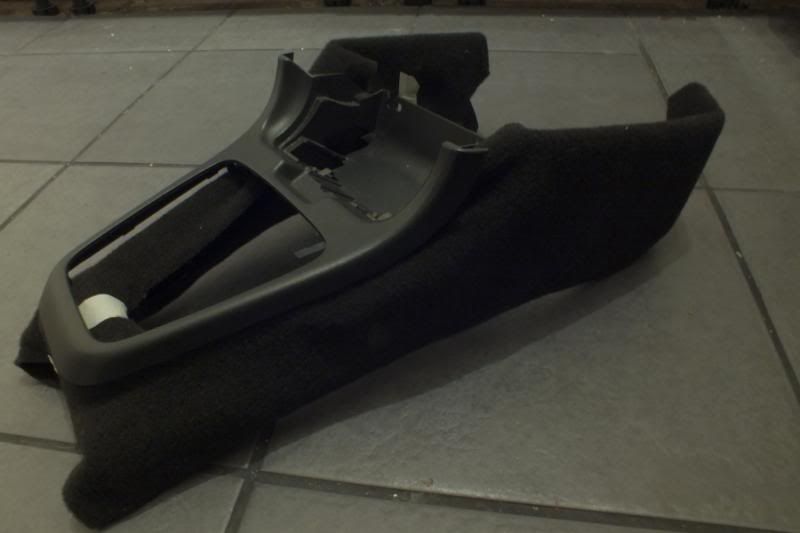
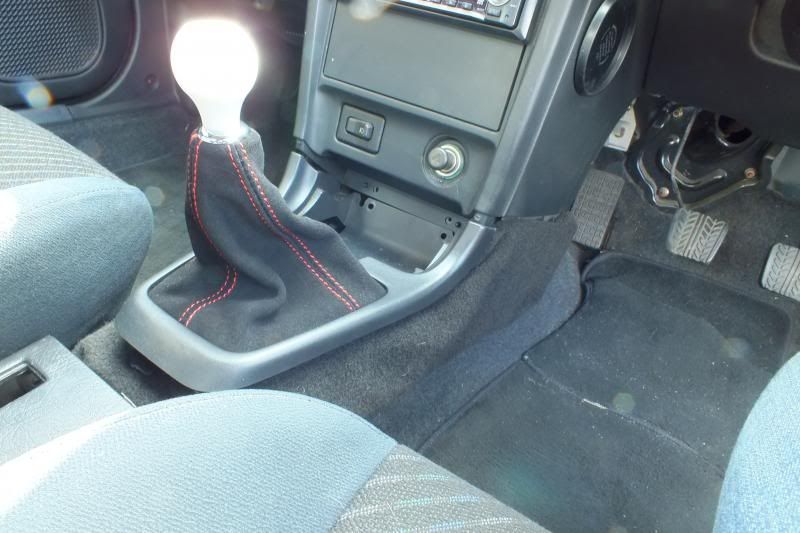
Trim fixed on.
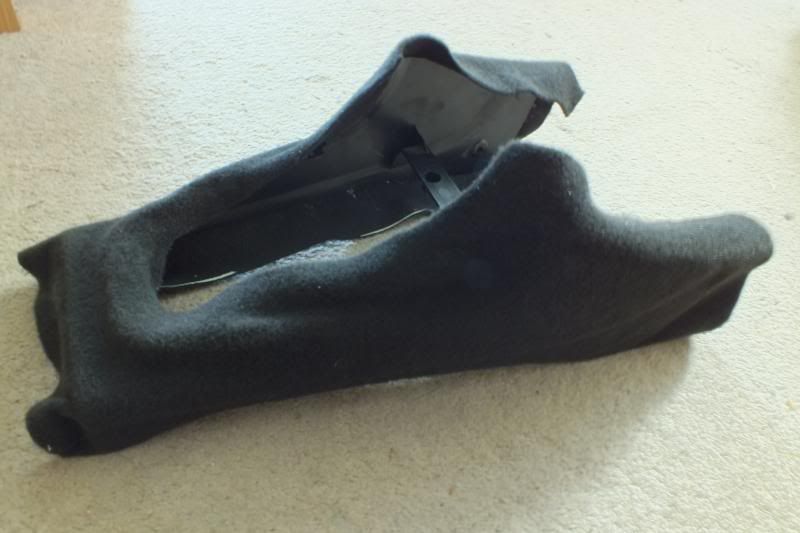
Trimmed & tidy.
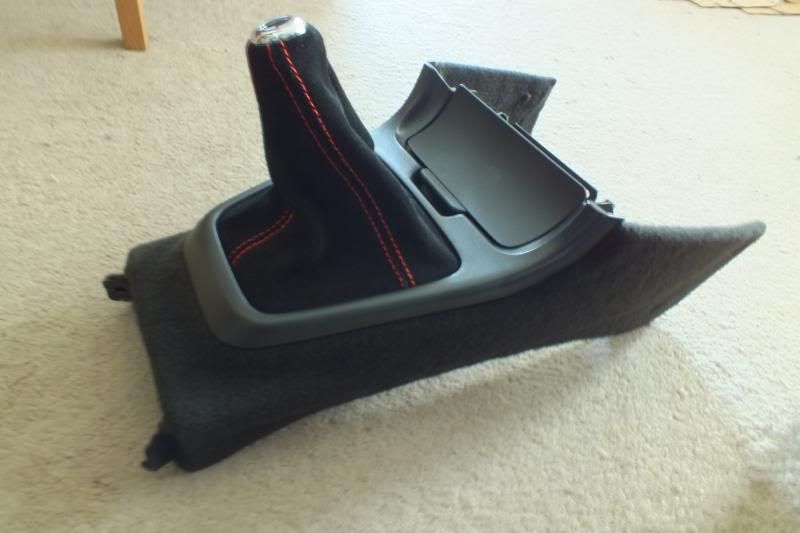
-
Car now back on the road as of Monday and running like a new engine after my mini tune-up. Throttle response, idle and MPG have been improved significantly, would highly recommend the MAF clean and fuel treatment if your engine is running a bit lumpy. The main reason though for rough running was one the plugs on the AEM was about to fall out as they are not a great clip in fit, plugs now secured and ECU velcroed to the carpet!
Speeking of carpet, time to crack on and furry up the last of the centre console and bolt on the monolith that is the double decker cup holder armrest.
Plate for it to sit on.
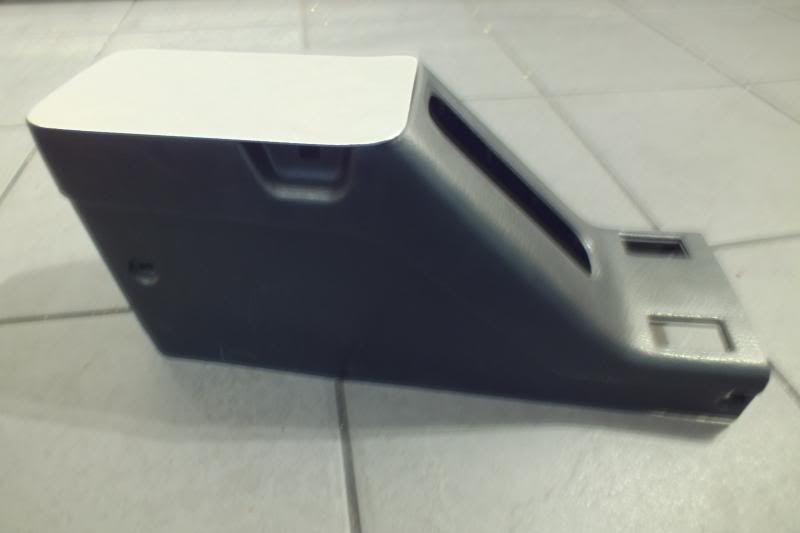
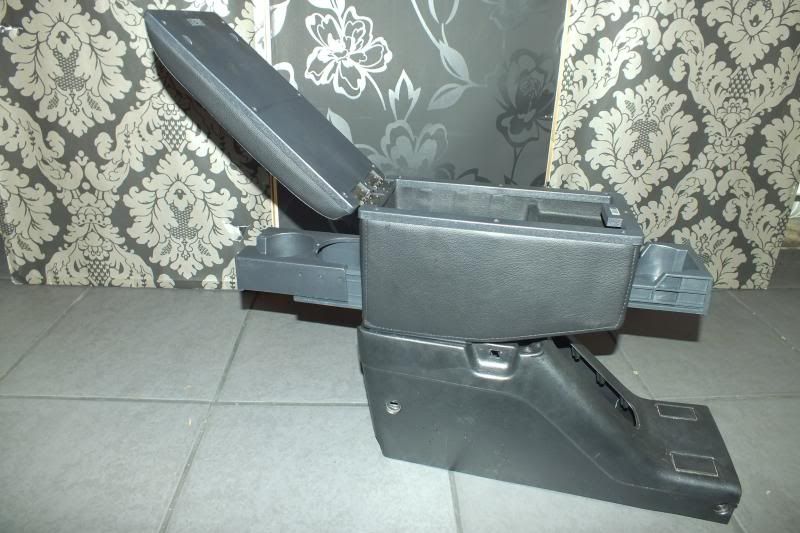
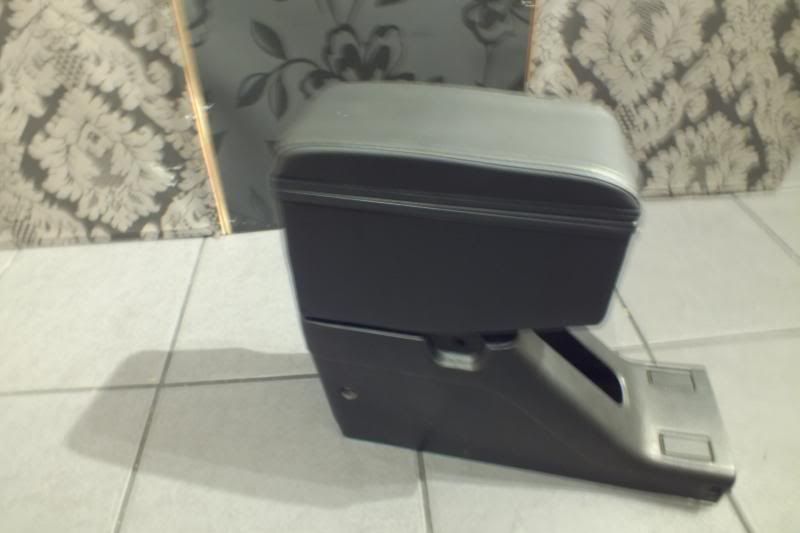
Gunna be cruising in comfort, RV style…also up for the furry treatment will be sun visors, kick panels by the ECU and up the side of the dash.
-
Good work! I like the fur, once that trim went on it looked brilliant.
-
Yo cheers Marc I think that fur will find it's way to a few other places Im sure :)
OK so the double decker armrest did not work it's way to high and get's in the way of your gearshifting! would fine as a standalone though without the stock item in place but that just looks a bit weird…
So in times like these there is only one thing for it, deconstruct & reconstruct as was not letting go of cup holders that easily..
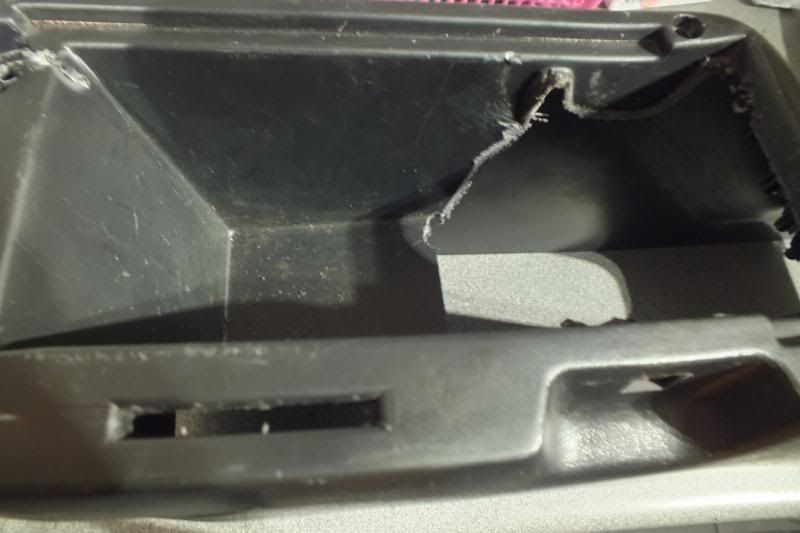
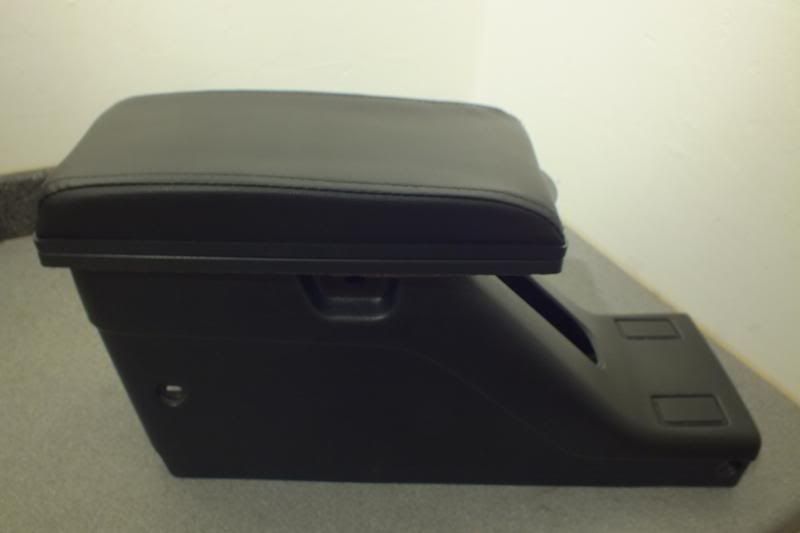
Boooom!
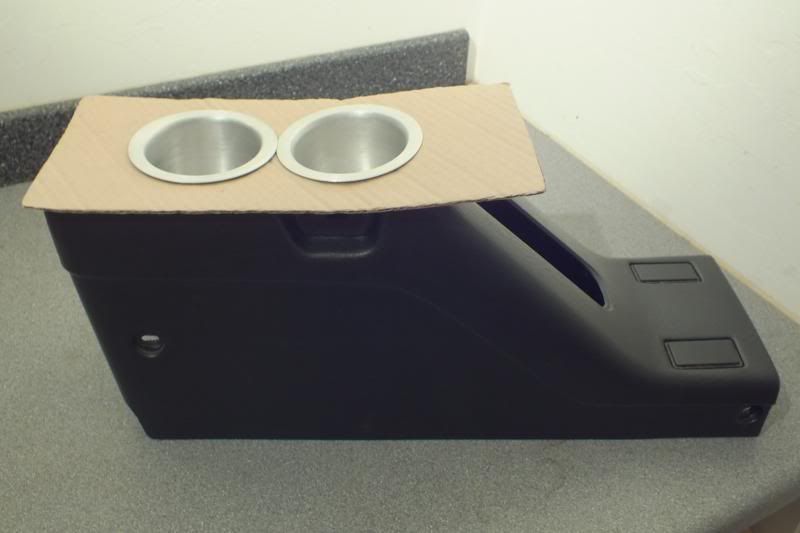
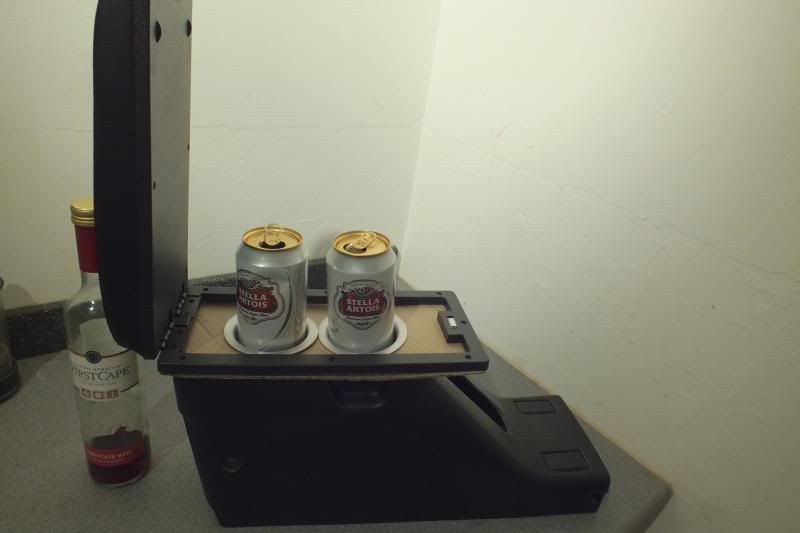
-
With fitting different make seats to a car you always have the issue of the seat belt buckles not being the same. Instead of ripping apart the buckle connection off the MX-3 seats which are still in use I am going to be retro fitting a whole new seat belt assy to the car complete with matching buckle to the Celica seats.
-
Car failed MOT today!
High Lambda.
Inner wear on both front tires.
Rear service brake inefficient.
Rear fog not working.
ABS light not working.So I think the big decision has been made to take Her off the road for a few months fix those issues myself which including painting the new wheels with some new rubber , get the Celica seats & seat belts in and fit the Turbo over the Summer…. 8)
-
:(
At least it will give you time to sort ye-old-turbo out bud.
-
ahhh bugger. Nothing too horrific there hopefully. Inner wear haha price of lowz?
Sounds good, make sure you don't neglect it!
-
Aye bit of a pisser, but on the flip side a blessing in disguise really and the fail could of been worse structurally!
Going to shoot for the half price retest in ten days time if I can parts and shit together in time. Then it will be SORN once passed as the tax is out end of the month.
The Wifes Sukuzi Ignis is getting my old wheels btw , Gem wont have the lowz though…
Neglect is a bit of a worry yeah, but no worries I will keep pushing on as its what I enjoy doing & now the evenings are drawing out, plus we have a new welder @ work who speak the lingo this time :D
Couple of months tops I hope and She will be just as I want it. Stanced & Turboed.
-
@5359f1cf0e=youdirtyfox:

Just noticed you have on a Euro style rear bumper! Been wondering for sometime what a smaller plate (like USA style would look like in the wider space). This is the only mx-3 bumper that removes the side markers, that's why I was interested in it.
Anyways i was going to comment that I like the red/yellow theme you have going on with the yellow rear license plate, yellow rear indicators in the taillights and the yellow fender side markers. Have you thought about getting a set of the yellow front lights for the turn signals under the headlights? Can you use those with MOT?
-
Not so much a theme Mark but the law in the UK states all turn signals should flash Amber. Yeah that is a 12x6 Jap/USA size and is perfectly legal for Jap import cars in the UK, yes I know its not an import but the plate fits in there so well I feel, plus it matches the front plate which is also 12x6 but that has been cut down to give the required 12mm or so gap around the outside of all the letters.
Regarding the sidelights at the front underneath the headlights I have actually removed the Amber blinker bucket from inside and fitted a chrome/amber bulb, so it looks clear but flashes amber. I did it too match the clearness of the headlights so although an amber section on those is legal I wouldn't personally do it.
I did consider once coating those headlight protectors you now have amber film for a full on Euro look, but a few photoshops later I decided against it, just looked too French!
Right up date on the MOT situation:
ABS light now functioning correctly after I reconnected the split wire in the rear sensor.
OE black dials being fitted with black gauge rings and red needles.
OE CAT is not blocked nor is there any exhaust leaks, however the Lambda probe looks decidedly white in Colour, so I'm assuming silicone poisoning along the line somewhere.
Already had one part worn (6mm) 195/50/15 so I have bought another, so that's the front tires sorted.
Someone is lending me the rear brake winder tool on Monday so will get new discs and pads in the week.
Also this morning fitted a new sump plug and crush washer which has stopped the weeping and chucked in some Stop smoke treatment as it chucks out a little blue smoke in the cold mornings…..and finally ordered the SPEC stage II clutch from the USA, they advise having the flywheel faced off before fitting, but only by surface grinding not machining. So currently in two minds whether to have the flywheel L&B at the same time.
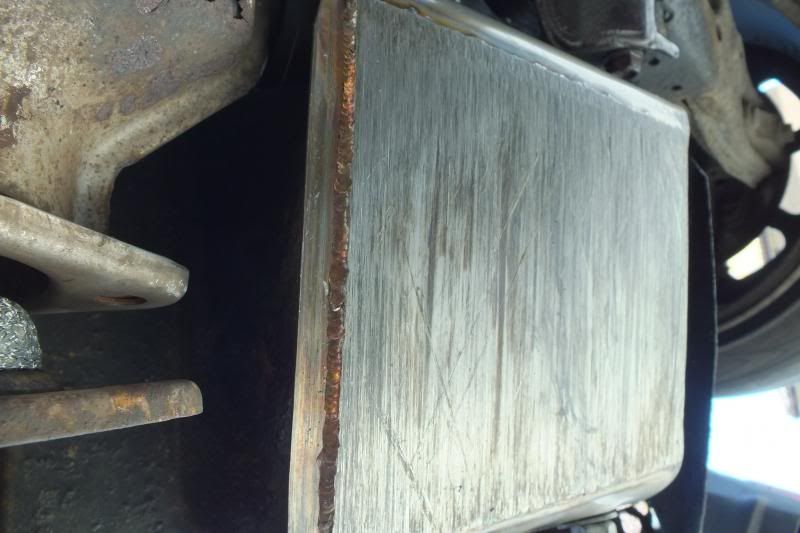
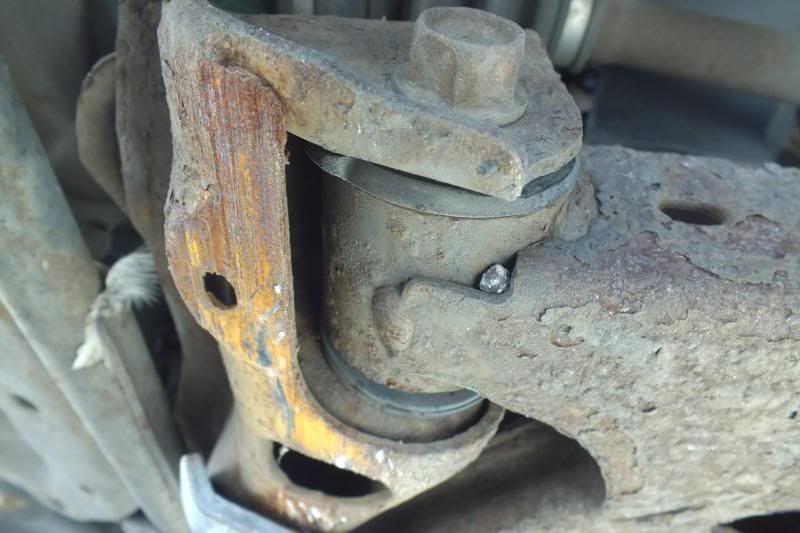
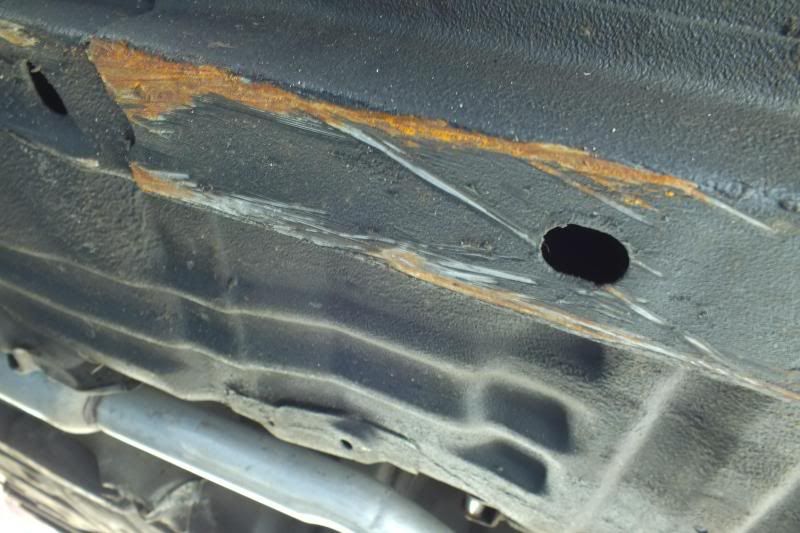
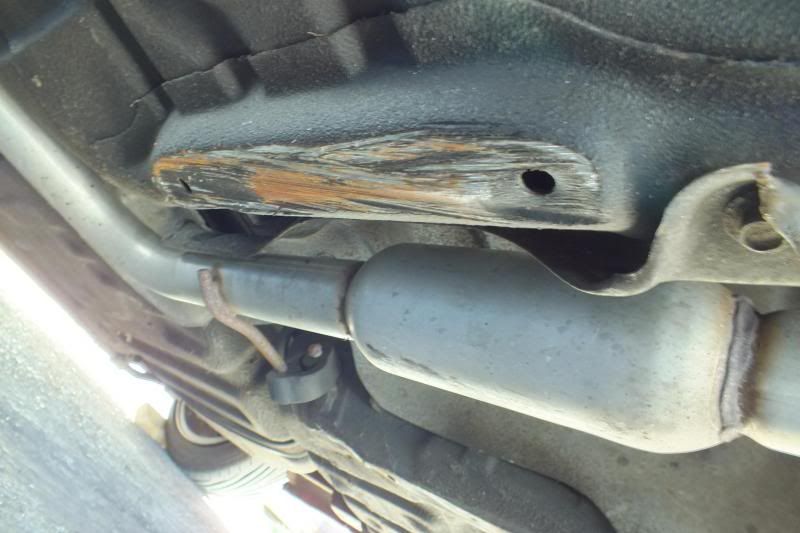
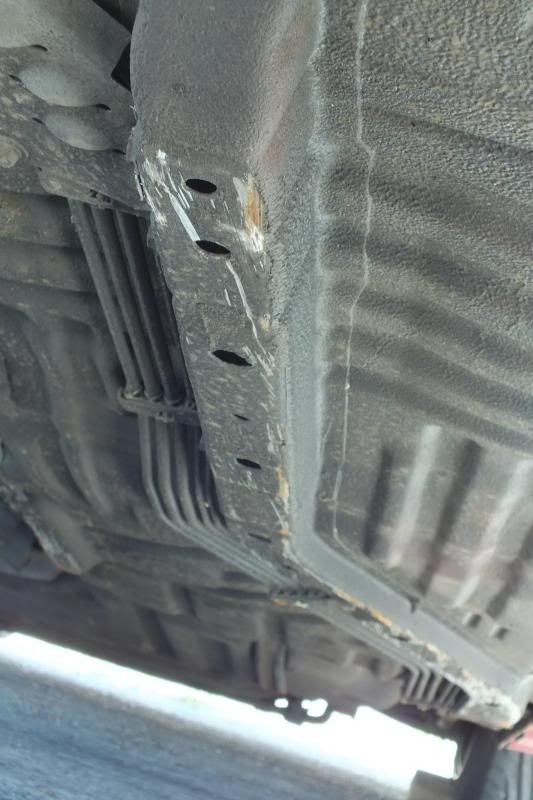
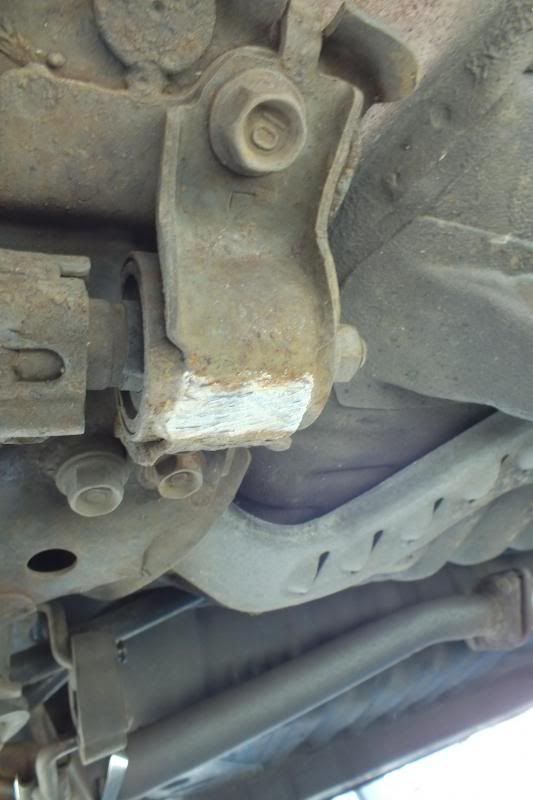
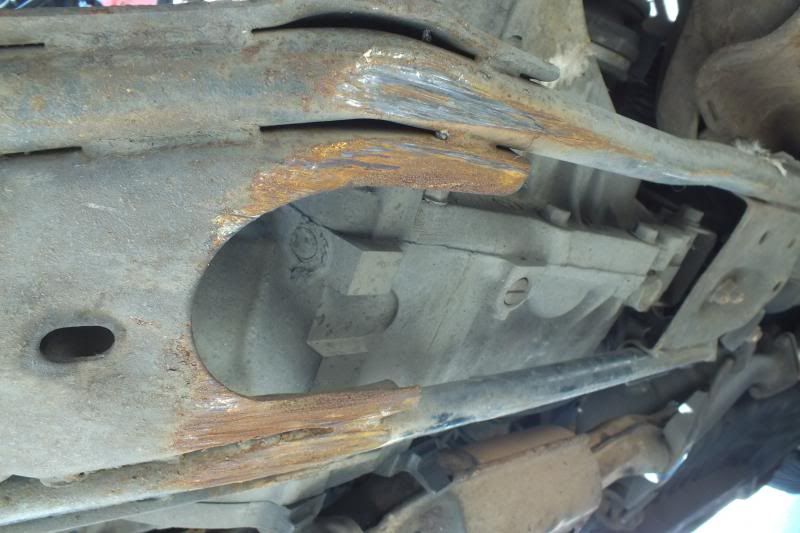
Here is a few photos of what the underneath of my car goes through on a daily basis.
-
Oooooooch! You must have a cast iron consitution when approachin speed humps? :shock:
On the plus side tho, every scrape will remove some metalwork, and hence increase power to weight ratio, eventually :rofl:
Hope your re-test is successful fella :PIs there any thing in the way of camber adjusting bushes/arms available for mexys?
As regards the rear brake 'winder-inner' i have had some success with 'long nosed pliers'? still, nothing makes the job sweeter than the correct tools, they do preserve fittings, swearing and knuckle skin! :lol:
-
Haha speed bumps are to be avoided like the plague! It would never make it over. Hopefully the day never comes where I drive down a one way street with a series of speedbumps on it, I would be fuct!
Yeah wonder how many grams I have shaved off already! probably offset though by the 4mm stainless steel sumpguard..
Camber wise yes there are a few options : Camber bolts (would not recommend) Coilovers are the better option which have camber plates on top.
Or you can go old skool and slot the hub holes and use a serrated flange nut in place of the stock item. I have been thinking about fitting front RX-7 ball joint arms as these are supposed to be 10-15mm longer giving a few degrees of negative upfront.I cannot fit rear disc/pads yet as my jack has just seized up (that little turn screw has seized and nearly dropped the car on my hand yesterday!) So it is time for a new low pro jack which should be arriving Wednesday.
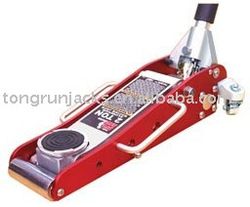
So will probably wait for the winder tool, thanks for the tip though on the pliers, always good to know for those without the winder.
-
Mmm! thats a nice jack is that 8) Where do you normally place jack pad when
lifting? I usually use the box section that runs parallel to sill, although it looks like its been deformed at sometime? but not by me cos I spread load with oak plank :o
I have never in my motoring history jacked a car up by its sills!!! (just seems like asking for trouble to me?) Yes if seam welded! but not spot welded sills with the notch front and back for the 'meccano' scissor jack :shock:How much for the LP jack? is it alloy?
Youd be fooked round this neck of woods fella with speed humps, I can count at least 25 in a half mile radius, Ive got standard 4x4 ride height but slightly nose down attitude due to 195 x 50 x 15 (worn) up front and even I wince while plodding over em! fookin shocking, NO NEED! :(
Take care under ya car anorl, new jack or not! might be more than just ya hand one day!!! :shock:
-
My usual jackin up method involves 1) Driving up onto wooden blocks 2) using OE scissor jack on the sill to raise another 20mm or so 3) Wheeling the trolley jack underneath the front subframe just behind the radiator… Big hassle!
Yes it is Alu and it was around £100 delivered, lowest spot on the jack is 90mm still will have to drive onto the wooden blocks I would imagine, but atleast now I can leave the sill alone.
Aye baffles me why they spend so much money trying to make roads flat then fuk it all with speedbumps. I can luckily go to most places that I need and just park in different spots if I have too...Although the potholes outside work are growing now the buses keeping pounding them... Ohh to have Japans roads!
Will do Pal ta I have a few 'spotters' that walk and work nearby so if anything did happen I would be in shouting distance... that's if they could hear me lol
-
New discs and pads fitted to the rear today. Old discs where so seized on I had to heat them up with a blow torch and smash fuck out of them… it was great :D I didn't need the brake winder tool, just used long nose pliers! Which is lucky as the Fella I was suppose to be borrowing one from forgot to bring it work like 5 times!!
Handbrake does not feel that great yet, I'm imagining it's self adjust after a few miles??!!
Got to book a retest for Monday/Tuesday, and once She has passed I will be keeping Her on the road for the forseable future! and have maybe a week or so off work to fit the Tubby.
Already started work on the driver side seat brackets and new seat belt buckle assy, and decided I do after all want to machine the dish of my wheels before painting them Gold...
-
That' d look the nuts, Photoshop??? :D
I wouldnt bother wi tyres fella!! just paint the tyre bead black :rofl:
Rubber bands or what!!!! :shock:I know what ya mean about things seizing, wanted to strip both my drive shafts and check/regrease em, thought id struggle wi nuts, no prob wi 100" 1/2" breaker bar!!! then it came to pushing outer from hub, think mine were welded at factory?????, tried every trick I/we/you/they know, Then my father pipes up!! "Make a plastercine dam around spline end, fill with 'plus gas' leave it for about two cups of tea, wipe away excess, refitnut hand tight, back it off ONE full turn and stake it! refit wheel, now bugger off home lad (as I was in my fathers garage as it has an inspection pit) and on way home (about 10 miles B roads, give it some beans and jump on brakes occasonally! take wheel off 'TAP' hub nut in and tell me what ya find?
BOTH! moved in quite freely about 1-2mm or so!!! genius father :o
unstaked nuts, nipped em up, restaked, then re scheduled another visit 'back home' next friday for easier removal etc.Yes I have a liking for gold n silver against red its the bizzness, do it!!!! :respect:
That bloke will bring the tool when youve had car on road a month or so!! :shock:
Wish i dare go low like that, trouble is my 46 yr old 'SPINE' has an opinion all of its own! :( (and dictated by shat! south yorkshire roads!!! as mentioned before)
'Superfantastico' job there fella :P kev b.
