Sam's Proper MX-3 - LT Turbo project *Parting out*
-
Hahaha funny I see what you've done there :P On the Island there does seem to be an annoying amount of them (probably the high population of OAP's) but most come with large gardens and many with decent size outbuildings.
-
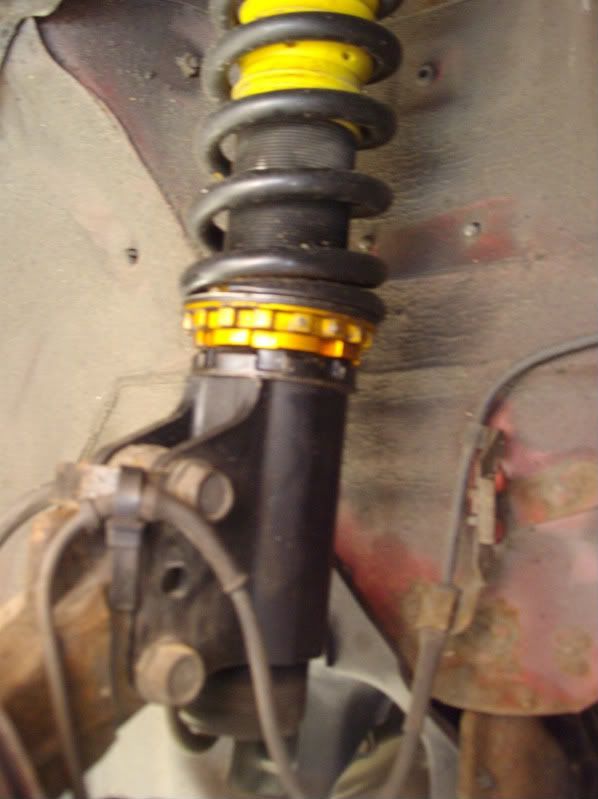
…and the work goes on! :D Picture for Mooneggs here, this is the original set up I had before flipping the mount, the rears are the pretty much the same with all collars together,
Now heres the flipped mount! This was insanely low!
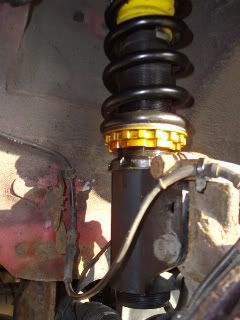
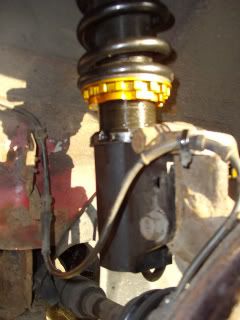
so this is what we settled for….
-
Just had the tracking set by a local place near my work, who managed to unseize the offside track rod end that two previous garages failed to do!
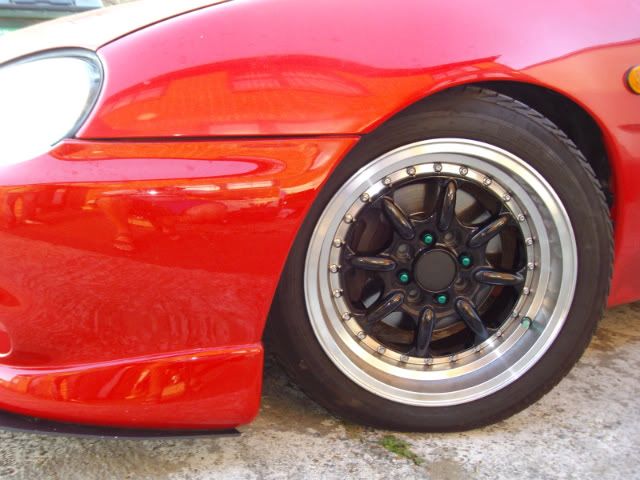
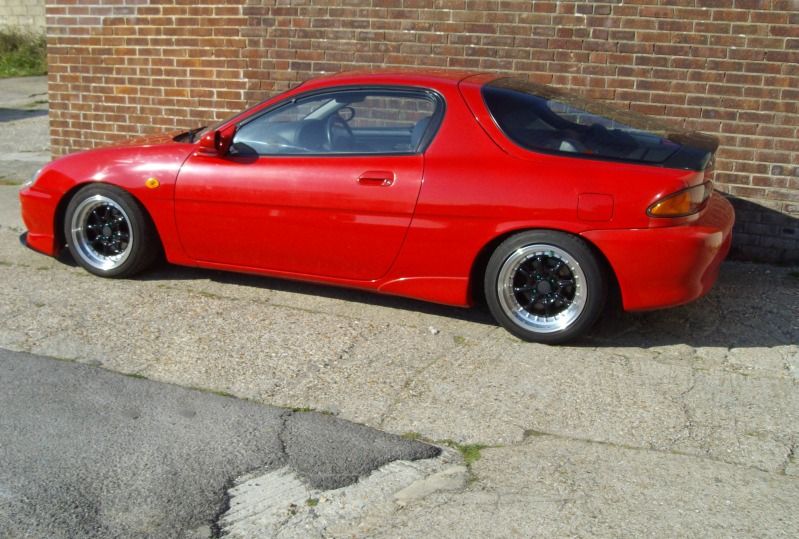
The tracking is now perfect with the steering wheel dead centre, and ive also increased the damping on front suspension and once again so impressed with these XYZ coilovers, the adjustment to standard setting has made it so much more smoother ( rears are still on softest setting but with a bit more preload in the spring)It no longer wants to batter the ground at any given opportunity either too much either. Tyres still rub on the plastic innner arch guard but im not too worried about that it does however scrape just a little bit going in & out of my driveway which is pretty shallow really, so big speedbumps are off limits and even little ones scrape the underneath!
So new stance = new pictures immenently :D
-
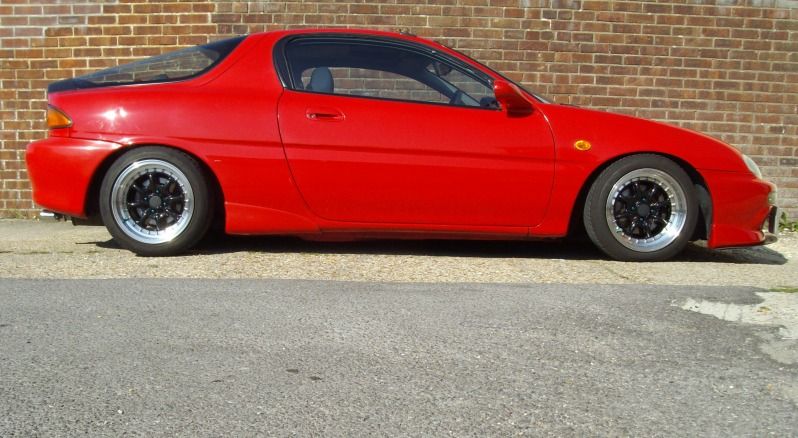
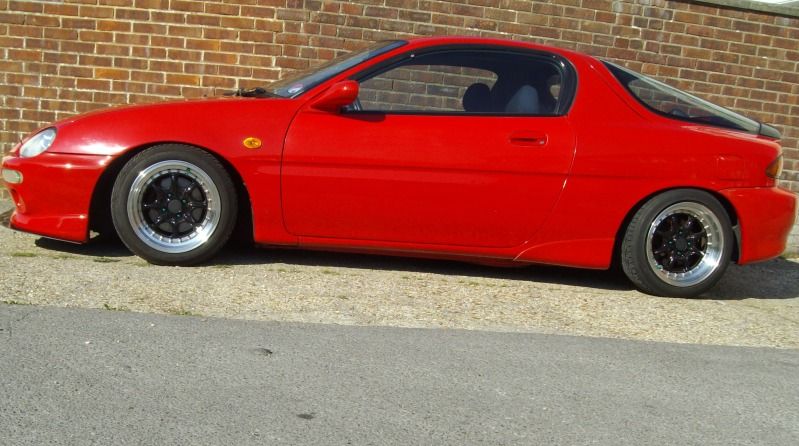
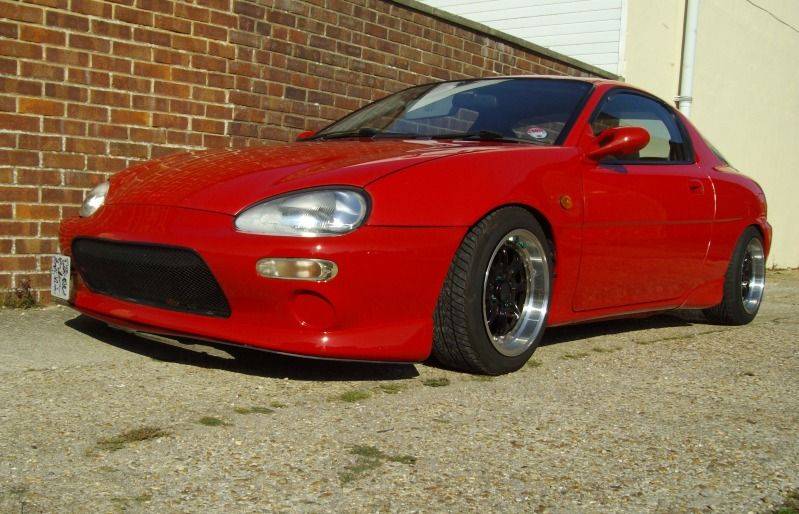
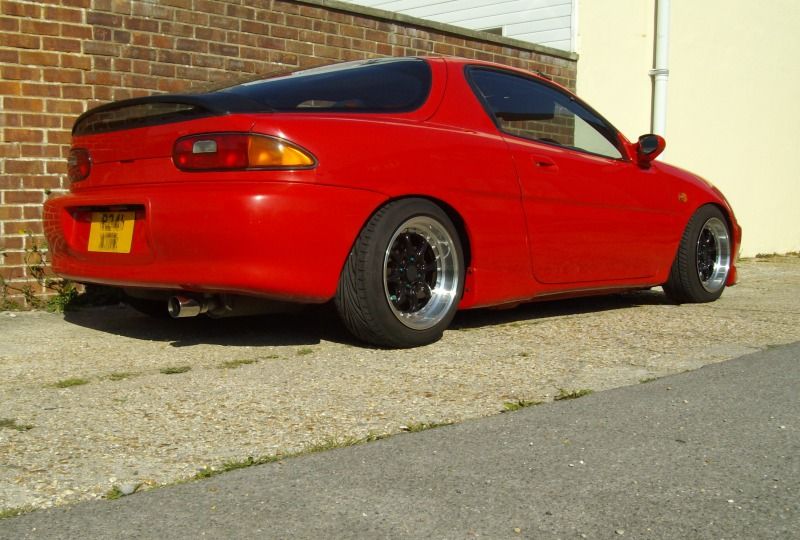
-
looking sweet :wink:
-
that looks awsome top marks dude
-
Thanks Dooods :D That is just the first set of pictures I plan to take a few this weekend seeing as the sun is beaming 8)
-
mawd stance yo! Looks epic! I'd have to carefully plan my journeys that low over here, but wish I could roll that height. And damn you and your heat wave. For us unstoppable torrents of rain :x
-
Cheers Bro Yeah will be a mission on long journeys unknown territorys etc! The trappings of a really low car quite literally. I've taken the corner off my wind splitter yesterday on a really small rubber speedbump strip as it had a very aggresive angle!
-
you should try getting into the huge tescos bootsale in southampton, they have put those metal one way flaps in the entrance there and even just on the 40 apex springs, they scrape all the way under my car they are so high
-
lol no chance I would just have to park elsewhere and walk in.
-
-
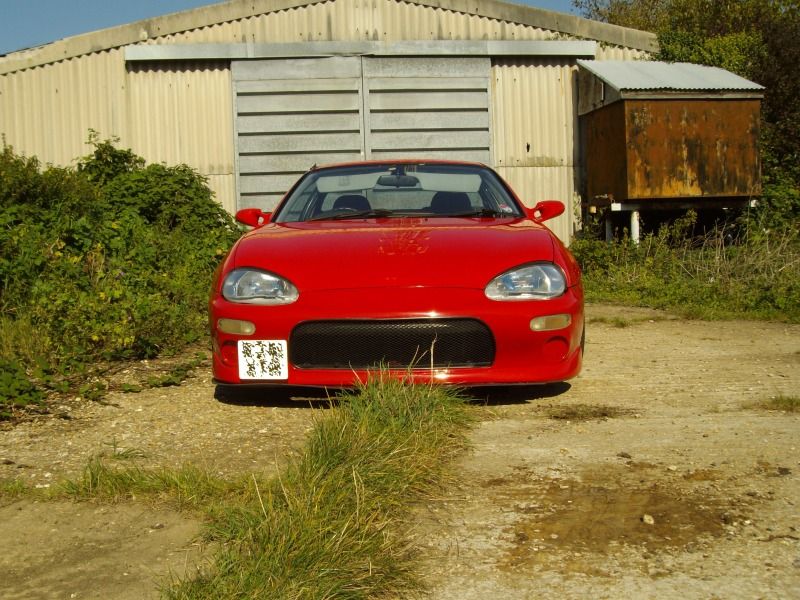
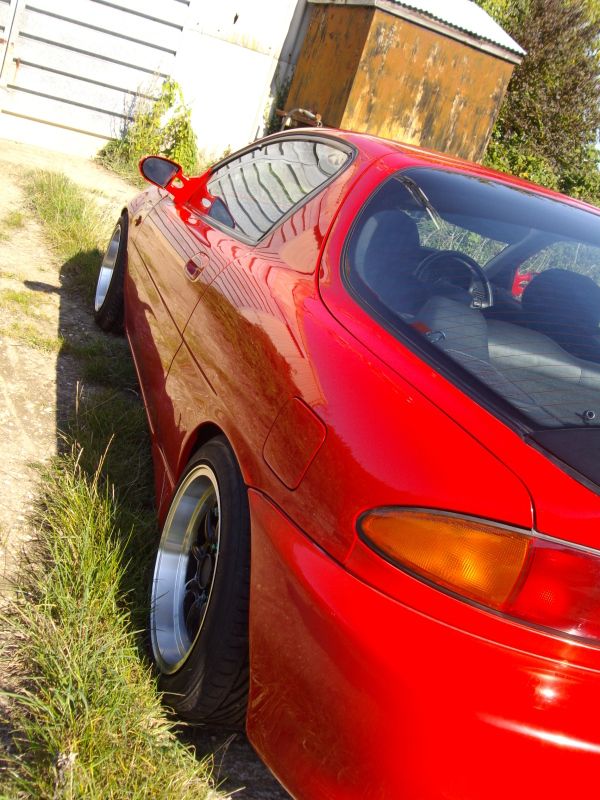
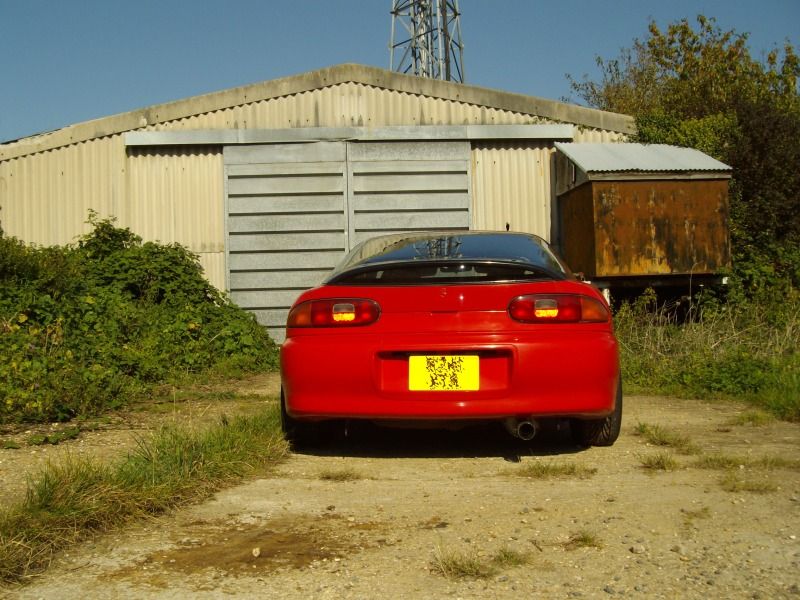
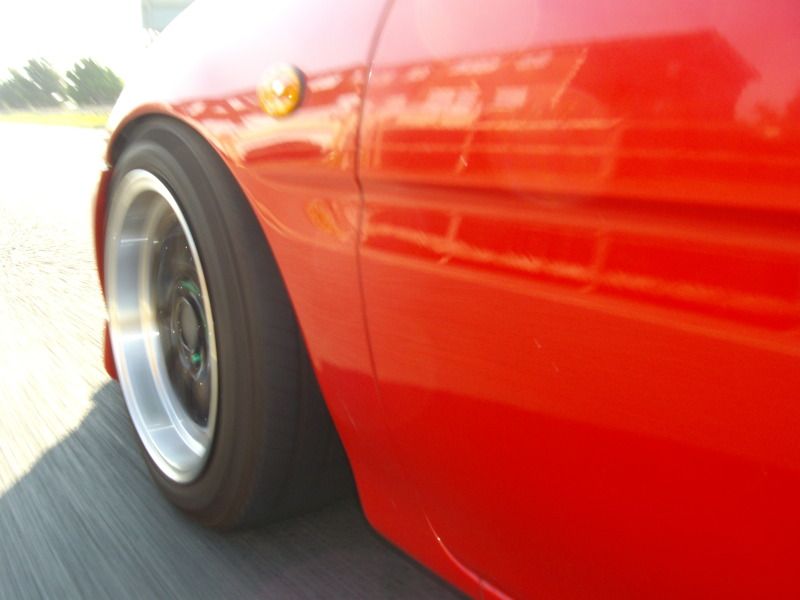
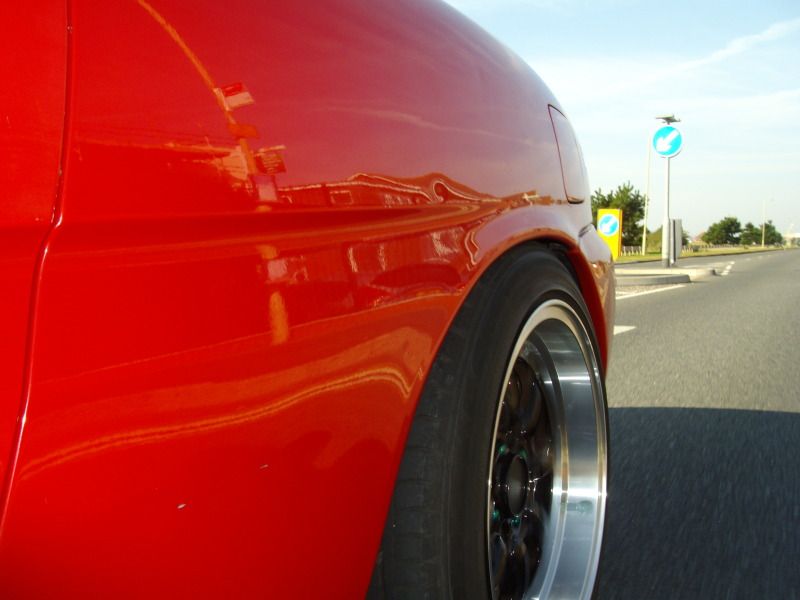
Thats the last of my pictures from this hot weekend, think I need a course in photography as its not as easy as it looks to get the right shots everytime.
-
those moving pics look sweet mate. how the hell did you manage that :lol:
-
Got the missus to hang right out the window and snap away, its funny we must of taken about 15 shots which all looked like we were stationary :?
They were the only two pics that look like we were moving :D
-
You need a slower shutter speed to get the impression of moving (blur). That means you have to keep the camera more steady though ;)
-
Thanks Marc I had a feeling it would be something along those lines. Guess you would be best of setting up a camera mount with remote to capture those sort of shots perfectly, will be having a go at some more photoshoots soon if we get another semi decent weekend weather wise, plus a few night shots.
Had a good look round the breakers this afternoon to pick some spare indicators so I can pull them apart for the clear mod. and happened upon these floormats!
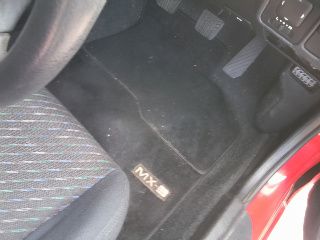
I guess these are genuine OE? the black V6 they were in had the stitched gear knob but the top look liked it had been chewed by a dog! so didnt bother getting that. While I was there I pulled apart some of the power steering pipe work of a 1600 to find out what pipe sizes I need for my alu. tank and also measured up for an alu. tank to replace to windscreen washer bottle :D
Also received my plastic headlight covers today!
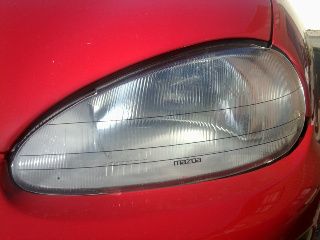
-
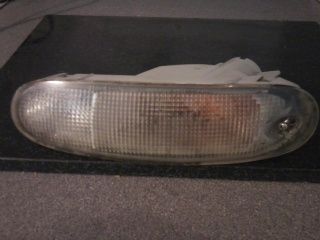
Just completed the clear indicator mod. Garfy's guide here is spot on
http://www.mx-3.com/phpBB3/viewtopic.php?f=38&t=52661Just a couple of things I would like to add that I did, heres what I started with.
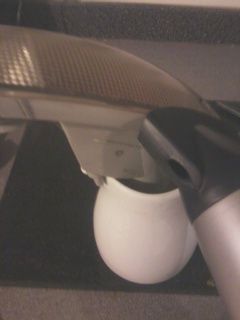
Rested the light in a jug so I could rotate it at the same time as heating it.
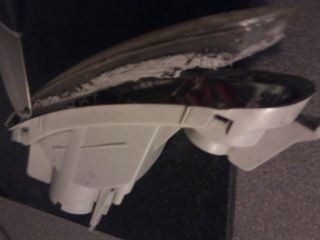
once heated I ran the knife along here a couple of times and once
I reached the tab just lifted the knife blade slightly to pop the tab
forward, unpop all the tabs and gently pull the cover forward, if you hear cracking stop and add more heat
removed the orange bucket and scrubbed the lense clean with soft cut and a bit of bleach.
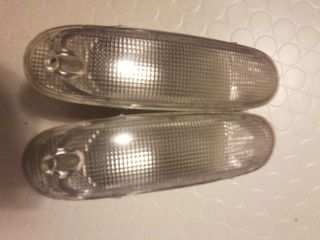
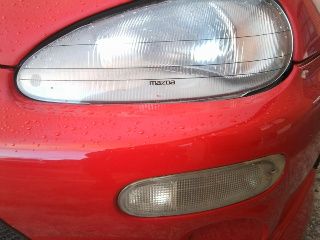
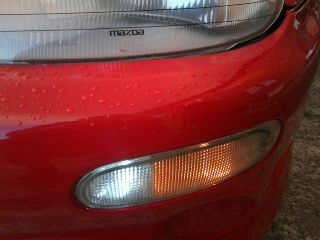
chrome/amber bulb works great!
-
looks great!, i posted a mazda part number on my guide for new lenses only, but im unsure if you can get them from uk, mine were shipped from U.S.
-
Yeah I thought about trying to track some down, but wanted to see what I could be acheived with a clean and polish and tbh Im pretty happy with the results so I'll stick with these for now. Until one day they might become redundant alltogether :D