Sam's Proper MX-3 - LT Turbo project *Parting out*
-
Will do it cheaper than that, Are you just taking the bumper to them and they are painting red for you? You fitting it up? Personally I'd dry fit it first, still think that the carrier is gonna be possibly showing, but could be wrong, if its gonna be red again, depending on your turnaround, I will do it for £70 members rates :wink:
-
Yes im taking it to them, no they are finishing off
my bad filling job(top hole and splitter, wich just glassed together at the minute) then fully stripping it back and painting it red and Im fitting it
back on once im able to crawl around on the floor again
(2 weeks) cheers for the offer its competitive once I factor
in travel costs, but the body shop is just too conveniantYes your right the carrier does show alot (nearly all of it infact!) but it will be covered back up again by the grill mesh on the front.
-
ok mate no problem, that stretch of water is a pain in the arse sometimes, make sure you get a decent colour match off your car, either front wing not the bumper, red can be a pain in the arse, could be a few variants, look forward to seeing it finished
-
wouldnt have hesitated if you were on the mainland mate. Yep will do, cheers for tips. Have seen there work before after someone
reversed into the wifes 106 and caved in the rear wheel arch and up the
quarter, you wouldnt of known it after they had finished, muchos respect
for those kind of skills in bodywork, would love to learn it one day :)He said get it in this week as they have some full sprays coming up….
.... I did ask how much they cost and it was 2k.
-
Bumpers gone into the body shop this morning
for finishing and painting, should be back friday/monday!Wheels spacers have arrived, after I paid the extra 25 quid in fees!
-
It's back home already, these Boys do not mess around :D
Very pleased indeed with the outcome, the sheen is incredible,
my filling attempt has just been blown out the water!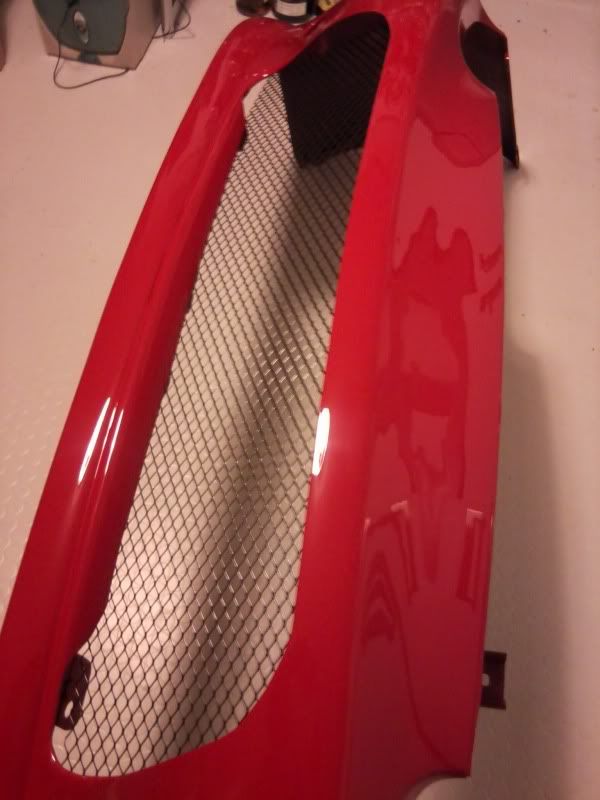
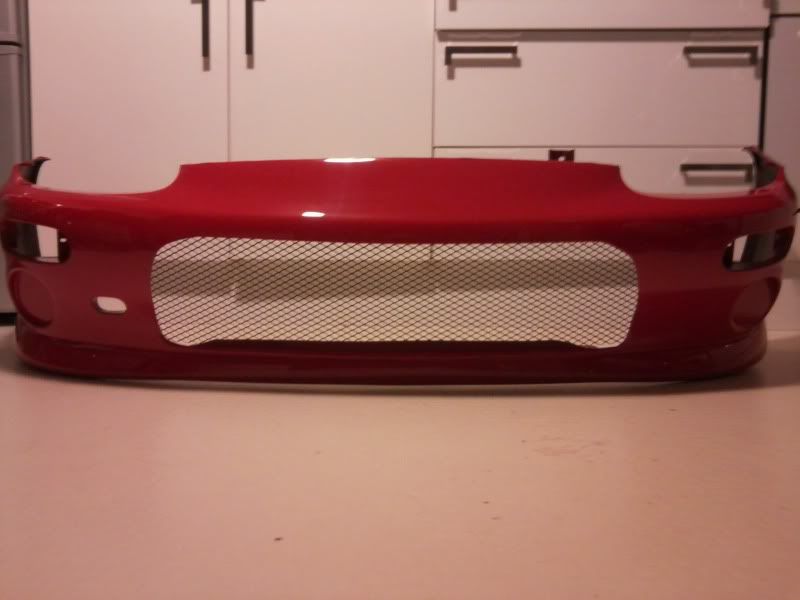
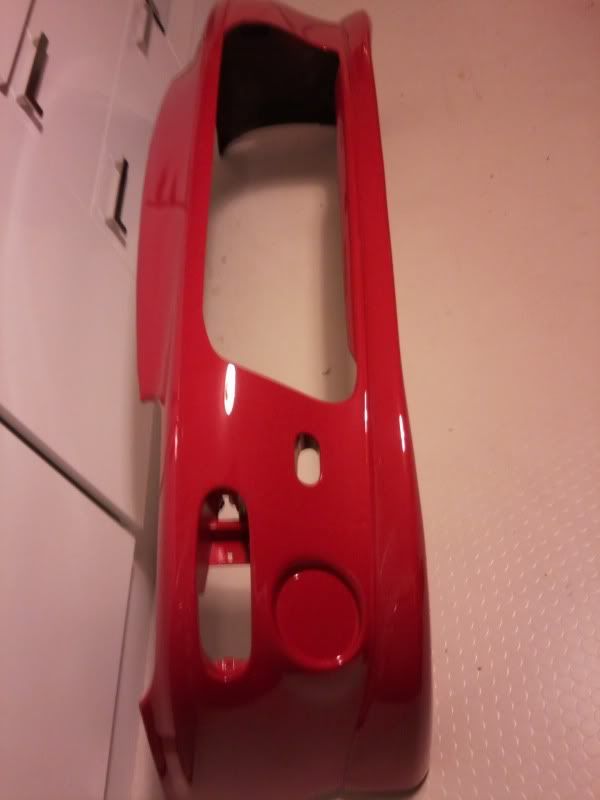
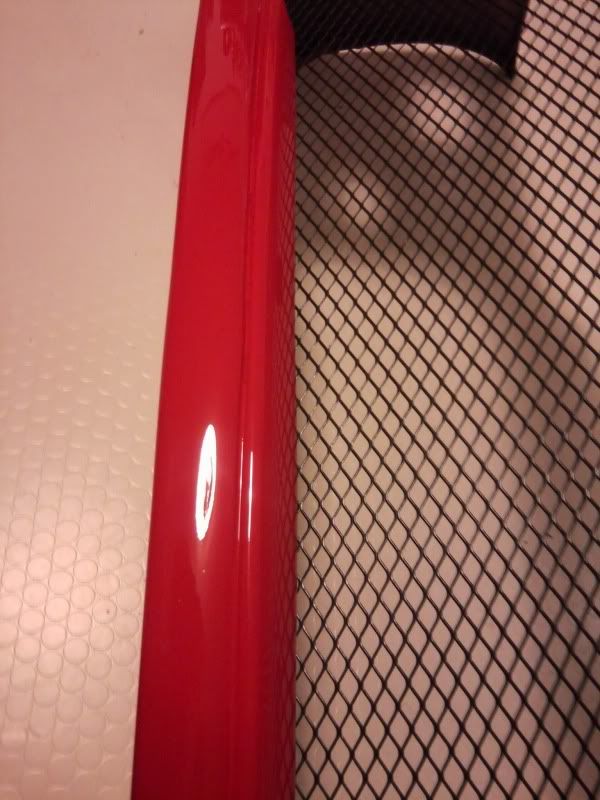
Just need to buy the grill surround, cut the mesh and mount it,
wait for a dry day and get this bad boy on !
-
That looks amazing!!!!
Can't wait to see it on!!!!
-
Does look good!
I'd have removed the fog light holes completely but that's a taste thing.
Looking forward to seeing it on the car.
-
@1bc645f889=Lori:
Does look good!
I'd have removed the fog light holes completely but that's a taste thing.
Thought about it lots, and really wanted too though I felt it just too difficult for my skill level given the large contoured section you would have to remove and renew.
-
wow that looks goooood cant wait to see what it looks like on the car
splitter joint removal was a good choice
-
Templating the hole for the new grill is proving testing!
getting there though :Dnext up is the mesh edging, best option so far
is 5mm silicone hose split down the middle,
just waiting on a 2m length of it so I can
cut the mesh to shape.
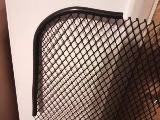
Then I need to find a way of securing it all…
-
No more nails or (and yes this is going to sound odd) build it up with PVA glue.
-
nah need some kind of clip system,
NMN has a habit of not being waterproof in my experience!
-
That looks pretty f**king good mate 8)
-
Use PVA, drys clear, waterproof, cheep, can be painted and..can be removed quickly :)
-
Ok slight change of tactics here now!
The silicone tube is now attached (via slitting the whole length)) to the
actual bumper not the mesh, as it was proving far to difficult
to get the mesh the exact right size to sit in the hole,
given all its contours. Now im going to have to secure the mesh
to the back of silicon tube via some glue, subsequently
the grill mesh I cut to shape earlier is now to small to fit behind
the tubing :( , so if anyone wants a piece of mesh probably
big enough to fit the standard bottom bumper hole (assuming
you have cut the 'teeth' out) gimme a shout….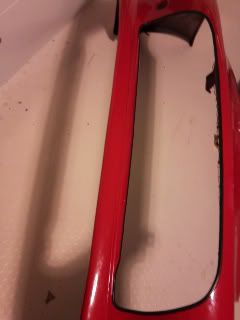
will update once I've got another piece of mesh ffs :roll:
-
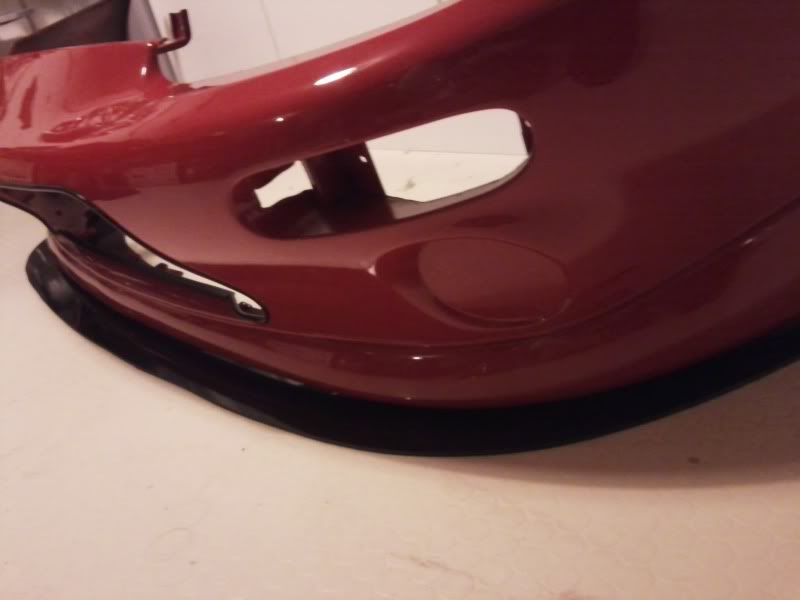
Cut out my front wind splitter today
from a piece of 5mm black plastic
sheet we had at work wich came on
a palet protecting some metal, its the perfect
stuff!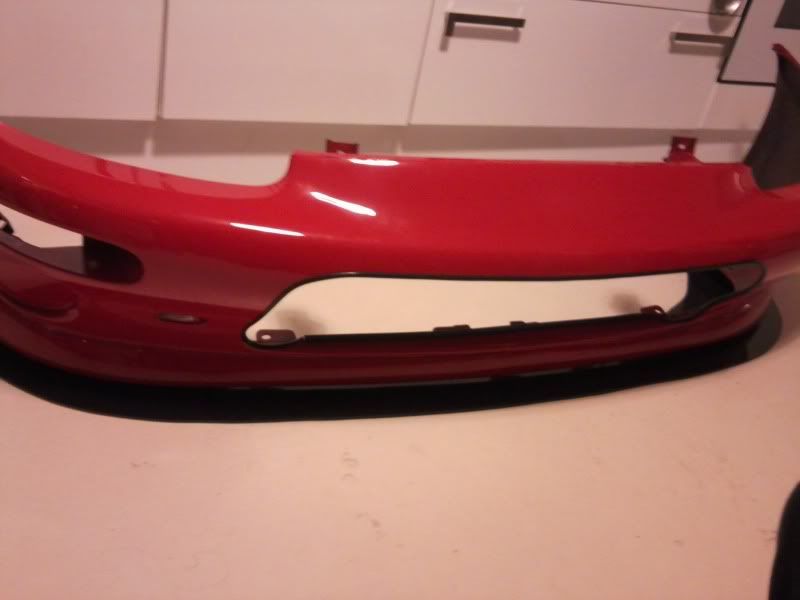
-
i like that i may have copy lol
-
do it mate, just trace round your bumper
then bring the shape forward about 50mm,
probably going to need some 'U' nuts
to fix it to the underside of the original
splitter and obviously those supporting
rods to stop it flapping about at speed
wich will get bolted to the bumper support :D
-
That is looking very nice :D :D