Sam's Proper MX-3 - LT Turbo project *Parting out*
-
Haha maybe that's a good thing then, sorry didn't actually say the rear lip.
-
@1883ecae09=youdirtyfox:
Haha maybe that's a good thing then, sorry didn't actually say the rear lip.
Nice work :)
You really can't tell, love the wind stopper, might have to steal that idea :)
-
Mate, its your car, love the spraybox thingy!! Was it plastic before you painted lip? If so I hope you plastic primed before topcoat or it could come back and bite your arse!
-
Plastic before yes but I am spraying with fast dry plasti-kote enamel which seems nicely chip resistant, it's a temp. measure till I can afford the real deal.
-
Thats cool then mate, was worried about adhesion, but no problem
-
Spraybox is awesome haha! Rear lip is sitting pretty.
-
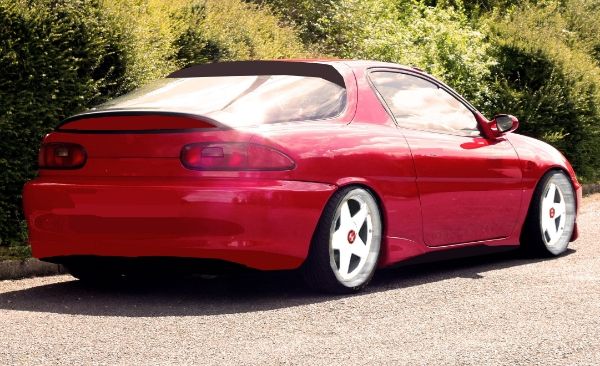
Yeah worked out well haha. keep meaning to stop with the bodywork mods but I keep on photoshopping some really cool ideas out, am thinking now a red panel in the small rear window would look quite smart, almost gives a little kicker spoiler effect, then I went on to smooth out the rear bumper by removing the number plate recess which looked clean as fuck, but that would be a proper mission to do that myself…
-
Love the smooth number plate look, not so keen on the red glass, as I look through it via the inside mirror :)
-
Yeah we will see got some cheap ass vinyl to try it out for real & found an illuminated number plate frame if I ever could be assed to smooth that bumper!
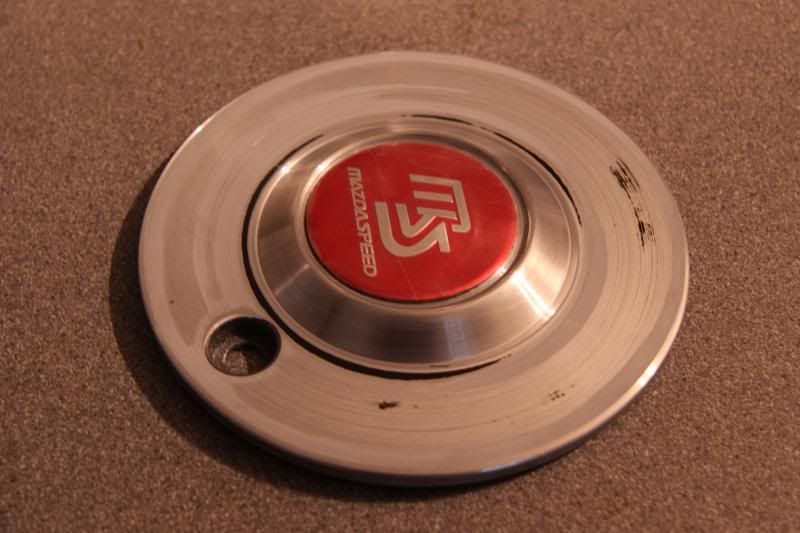
All four centre caps got the machine treatment today along with a little polish
whilst no-one was looking. Polished part to be masked then rest of the cap painted white!
-
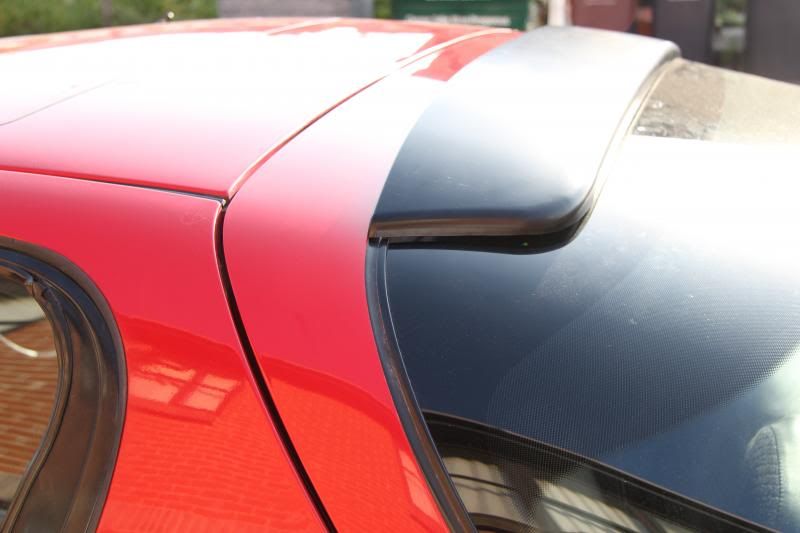
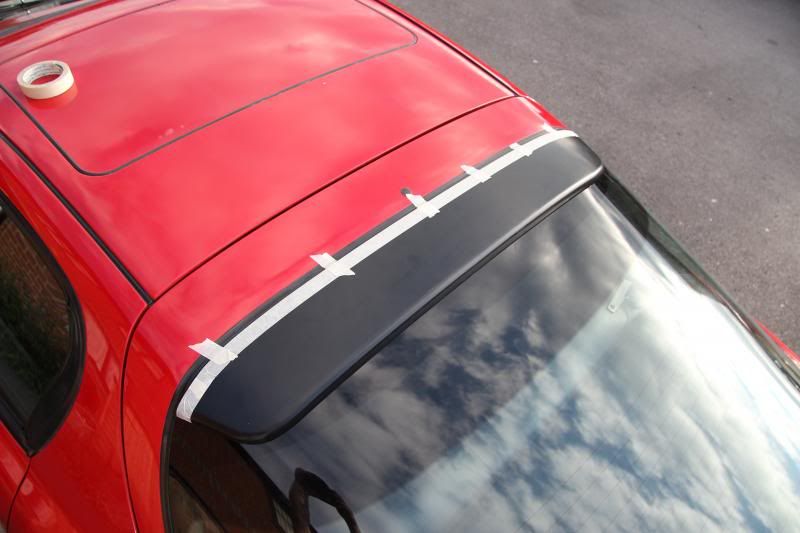
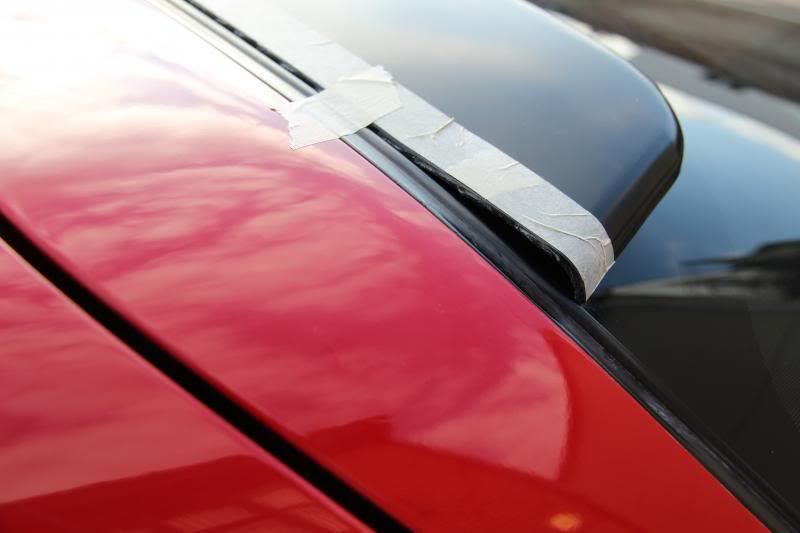
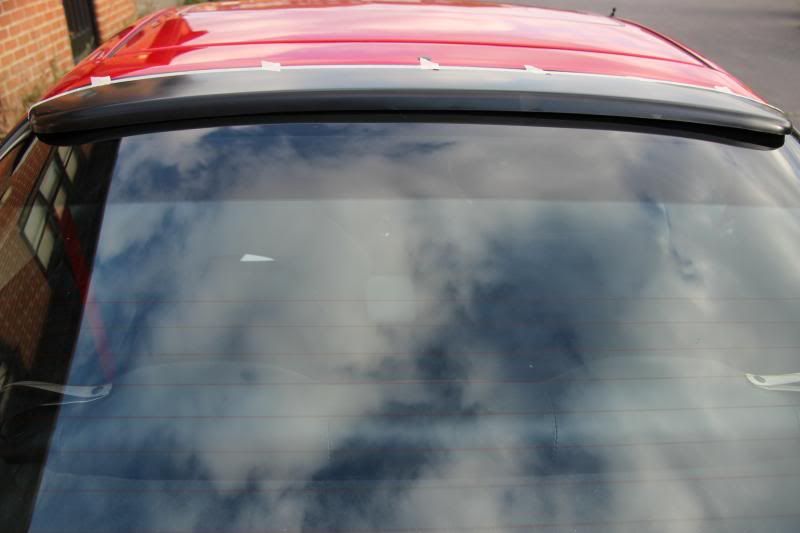
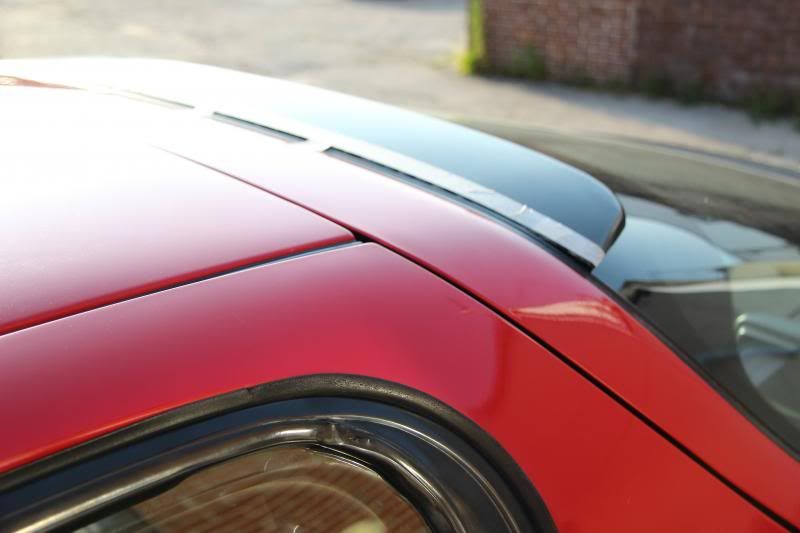
Bought a hatch visor in the end to try and make it fit! Did not spend a huge amount on this just in case is was way off, first look seems alright though. :D
Another thing I'm working on too whilst saving for tyres is tinting the rear lights completely red, will be trying out 24 LED amber bulbs with load resistors to stop them flashing to fast.
-
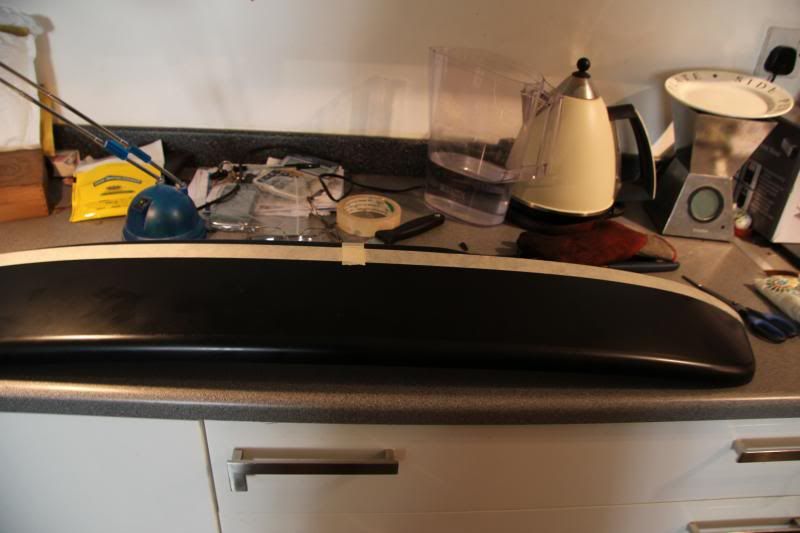
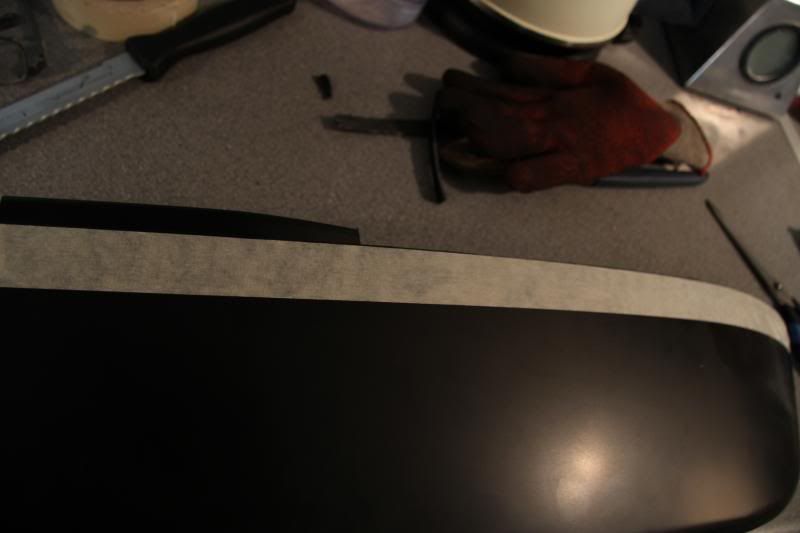
Shaved off front edge with a flap wheel in a drill.

Made a template to rear glass rubber line, marke cut line with tape and trimmed with tin snips.
-
Hope you tidied up before your missus saw the mess!! Good work, how you gonna fix shade onto rear hatch?
-
Lol no I didn't bother the mess is ongoing :D Not sure exactly what to use yet tbh, clear silicone adhesive maybe, got any good product recommendations?
-
shaping up, looking more like it belongs :D
-
Yeah some more emery cloth sessions and it will be part of the car :D
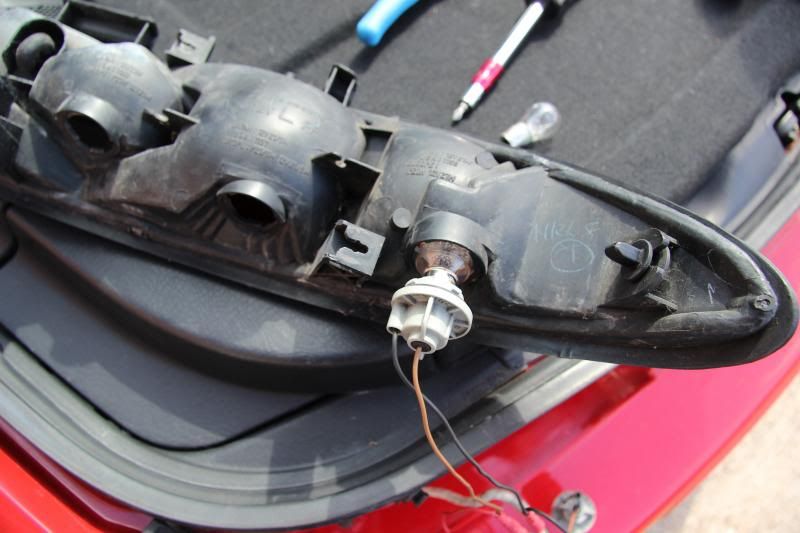
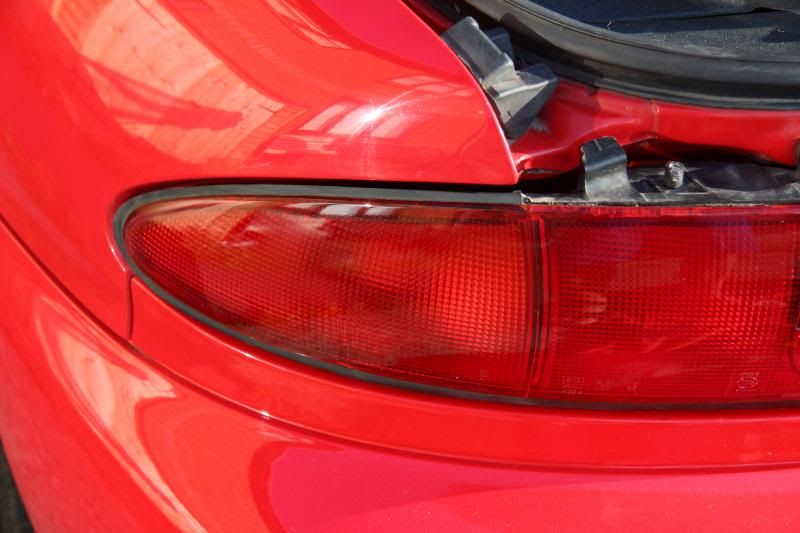
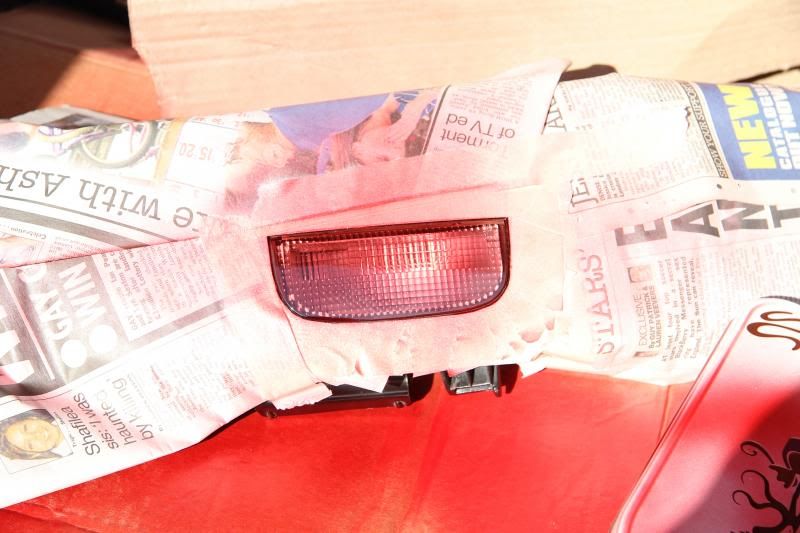
Decided to tackle the light tinting this afternoon, I took my time probably took me about 5 hours to complete one, inbetween chillin in the sun and swiggin coldies!
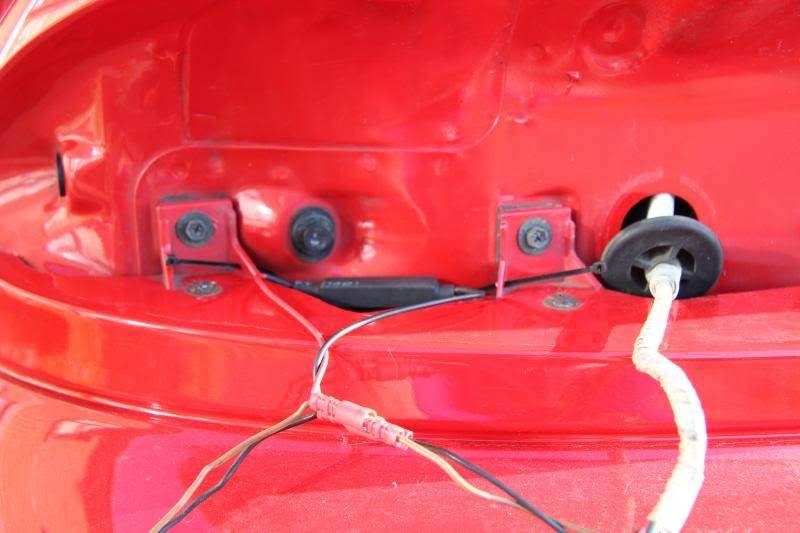
So becuase I am using YELLOW LED bulbs the current draw is alot less so the indicators flash rather rapidly. To slow this down we needed to add inline a resistor relay, all ready made up these where £4 a pair and the bulbs around £8-£15 depending on which ones you go for. E-tech tint spray was around £7.
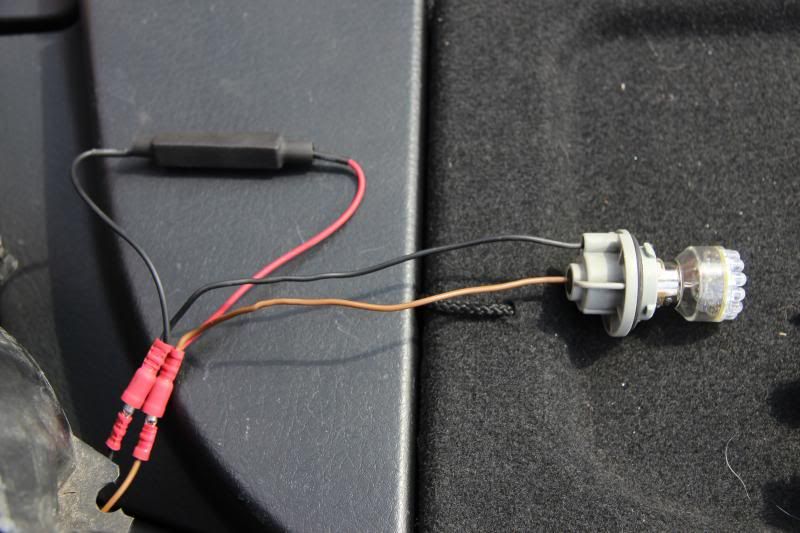
These relays get hot so best to have them up against the bodywork
to dissapate that buildup better.
Taking out the reverse white light.
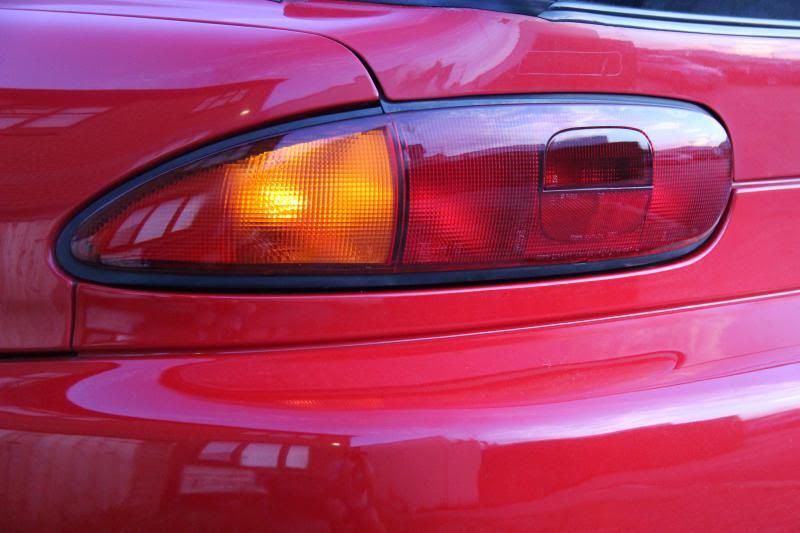
On! still amber after 3 light coats of tint.
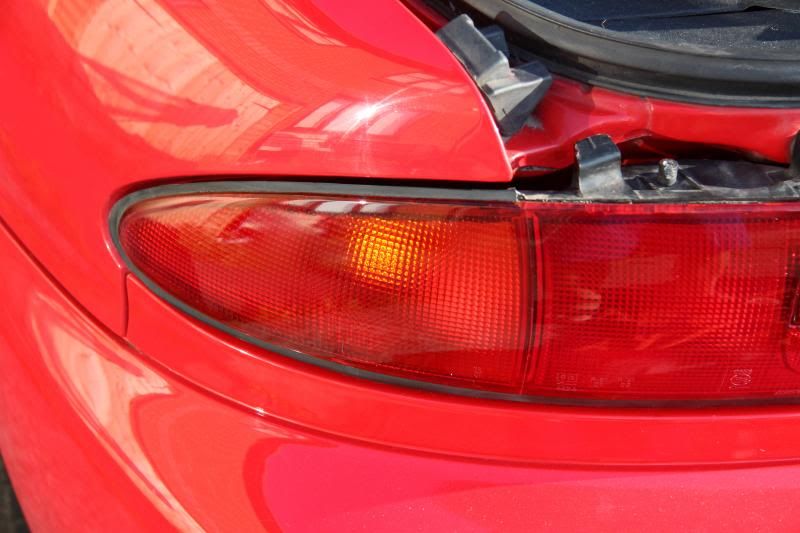
Overall effect, happy with that but think only 2 not 3 coats on the reverse light would do as it looks a little darker then the rest of the light.
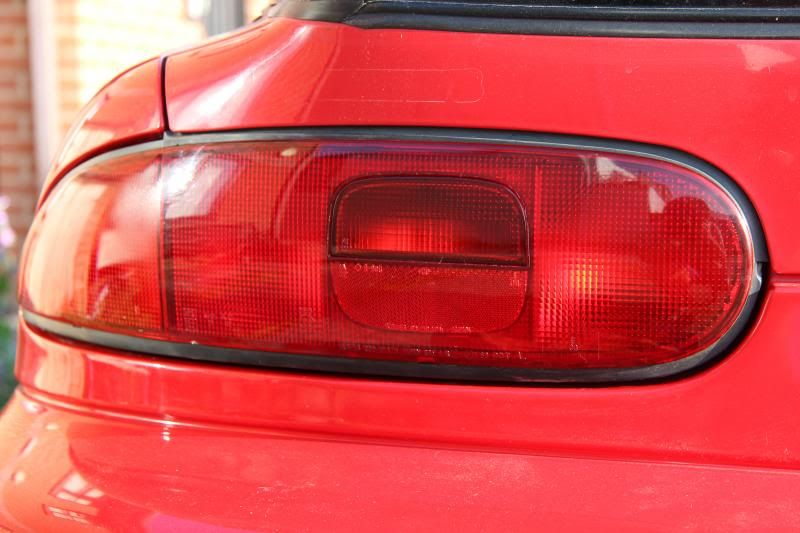
Could do with a clear coat though, little bit matt in some places.
-
I think you and me have used the same tint spray lol.
Yours look better thou as the rest of the car is red.
Nice to see a finished product thou, outstanding bud.
-
Cheers Bro should tie the back end in nicely. Took at shot just now, pretty bright but doesn't shine in the corner so well.
Bit late to start the other side now,lol
-
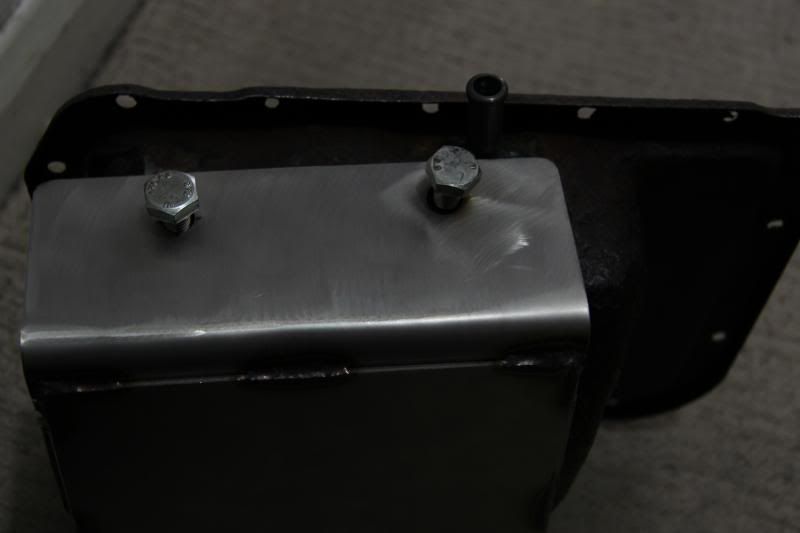
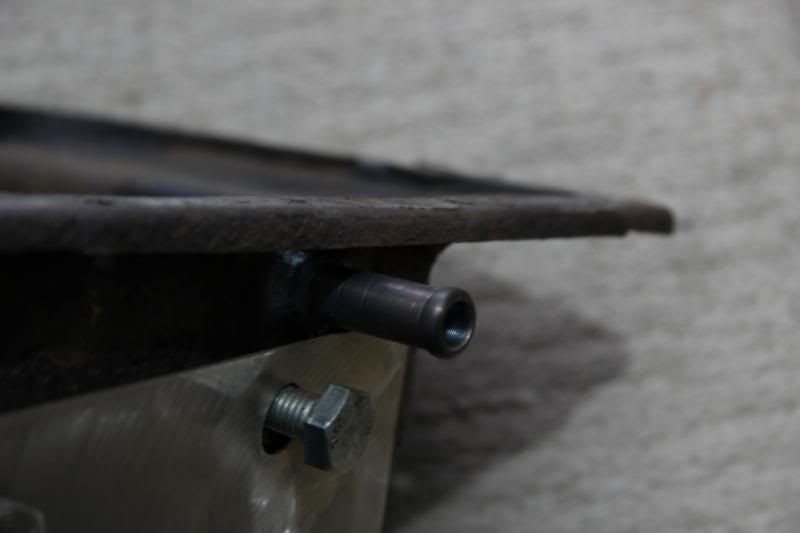
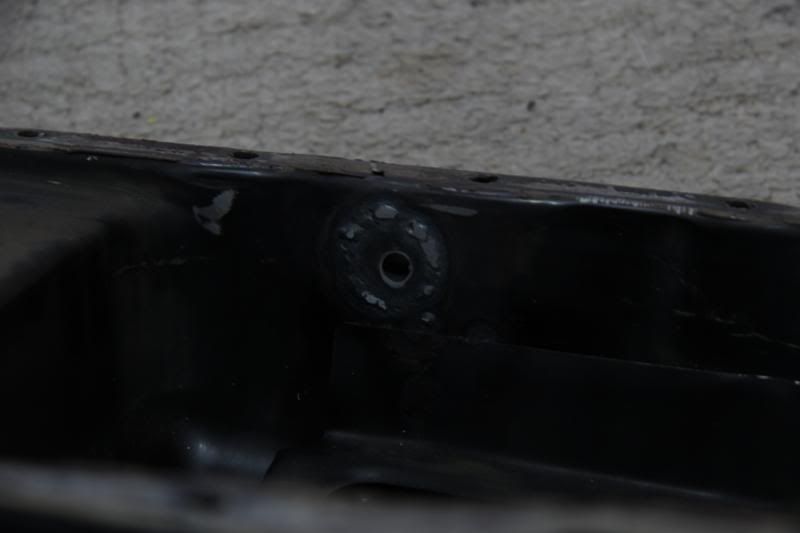
Lucky sump #3 waiting to go on 4mm guard this time with a proper welded on return for the oil, machined and drilled up that spigot myself still don't trust my welding though so that was not done by me.
Hatch visor is also ready to fit on now :D All wheels painted waiting for final coat of clear.
-
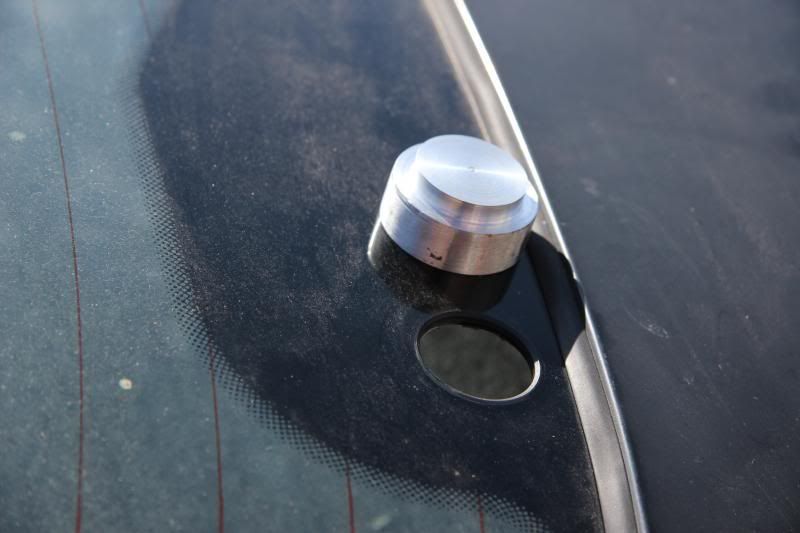
Got bored @ lunchtime, fancied making a flush rear bung for the rear wiper delete instead of the 'alfords button on there at the mo. Just another .4mm off and it should slot right in…
-
That will look sweet
