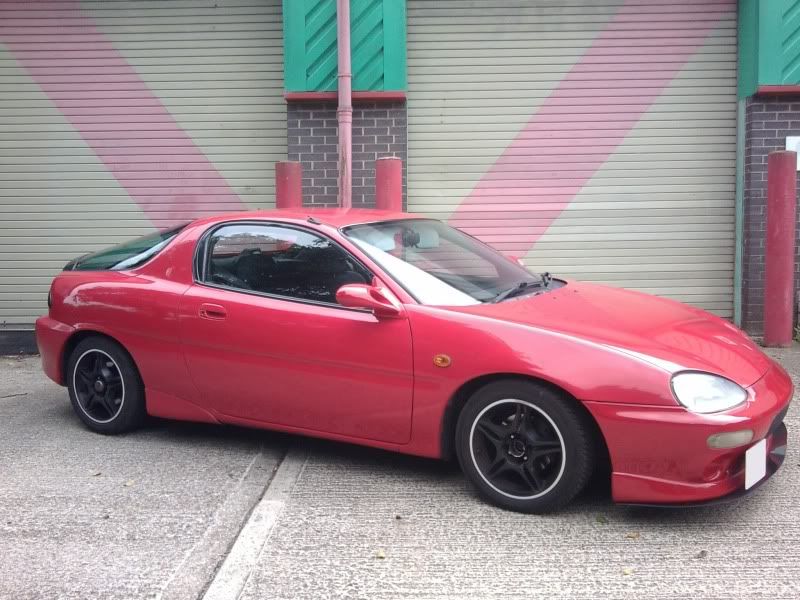
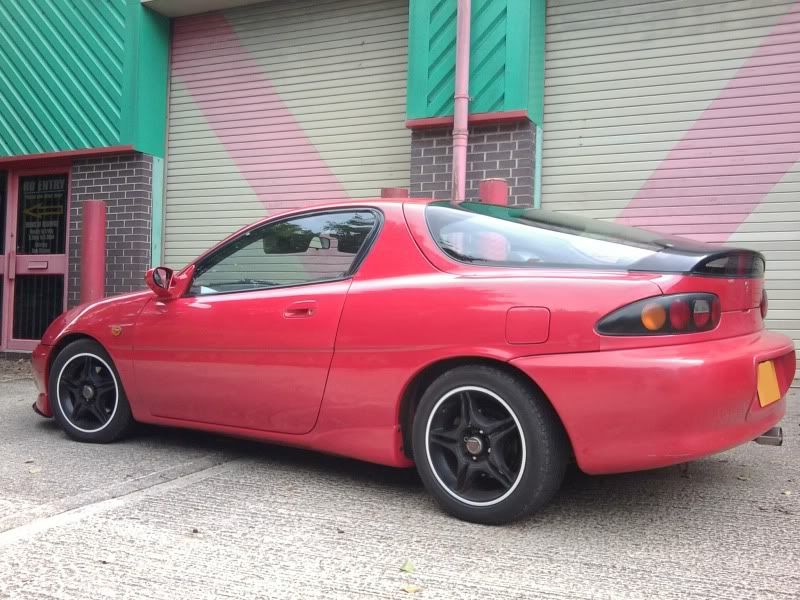
Sam's Proper MX-3 - LT Turbo project *Parting out*
-
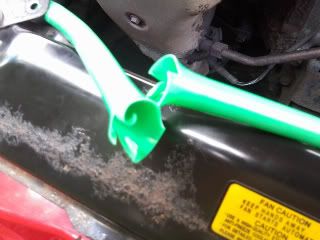
Major expansion pipe failure today on the way back from Kent, leaving
us stranded 10 miles from home! as the temp shot up to the top of the guage I pulled over straight away (thought I had heard a pop,lol) Had to phone the mother-in-law to come pick us up and take us home, so I could get another piece of hose and some clips and go back in the wifes car to fix 'er up again> had tried to bodge it back together with a biro and some fingers of a latex glove tied together, but it didnt hold.
Neeedless to say the hose is not suitable for a cooling system, replaced with some pukka black coolant hose now…
-
Installed my new Gulfy rocker cover this morning along with a new gasket, NGK spark leads, purple anodised bolts (used red rubber grease in the bolt holes) & washers and a black MX5 lead holder. was warned off using the alu. lead holder I made on the banzai forum as using metal to seperate spark leads is a bad idea! it can cause flash-over and destroy an engine…
I used http://www.youtube.com/watch?v=wDSFztSNcdI as an installation guide, all went well no leaks so far :D
Anyway so here's an obligatary picture 8)
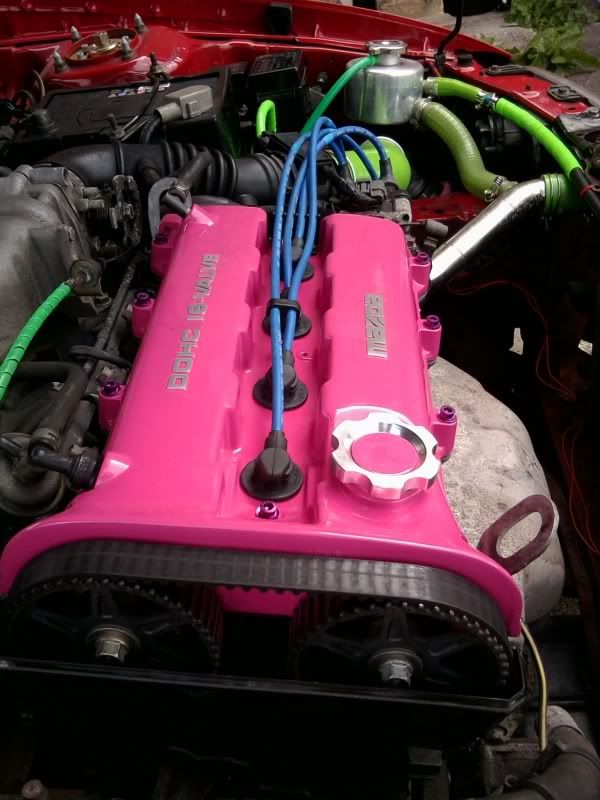
Now the pulley wheels are exposed Im thinking of some kind of spiral/propeller paint job for them
-
Being a 1.6 mx5 engine I have seen the pulleys exposed before, maybe worth getting a pair of new ones and get those painted or chromed and do a cambelt and pulley change :wink:
Loving the rocker cover :D
-
Looks good :wink:
-
@b59c7bca4b=djmarcopolo:
Being a 1.6 mx5 engine I have seen the pulleys exposed before, maybe worth getting a pair of new ones and get those painted or chromed and do a cambelt and pulley change :wink:
Thats the plan mate :wink:
@b59c7bca4b:
Looks good ;)
goes well too :D
-
Thats going to look the shizzle in 2 weeks time :D
-
Its a shame thats the date I would of have Archenemy round to roll my arches so I could fit the new wheels!
-
Been wanting to debadge the bonnet since I fitted the new bumper,
so this morning I popped the badge off using a plastic body filler scraper
to reveal this.
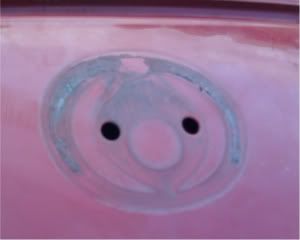
Next up I hit it with some soapy water, TF-90 electrical contact cleaner and my thumb to remove the sticky residue, then some safe cut to bring the colour back. My plan was to use red electrical tape that had been holepunched to create two perfect dots to cover the holes, it was completly the wrong red though! So off to Hobbycraft to find some sticky stuff of the same colour, ending up coming back home with these buttons,lol

I think it has the desired effect though, and will do till it gets done properly :D
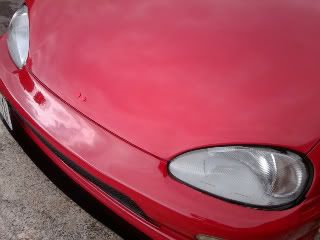
might have to attack the back now :wink:
-
lol you are ridiculous sometimes
(in a good way)
-
:) :)
haha like it, very clever!
-
lol…...it's original, gotta give you that! :) Your car is looking Awesome!
-
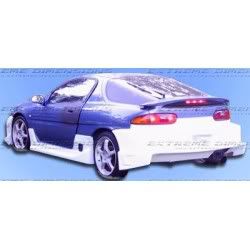
lol great idea and the front look loads better without the badge ive had an idea for the back using the mr2 rear godykit spats with a bit of modding i think it would ork well
these what i was thinking of
http://www.ebay.co.uk/itm/TOYOTA-MR2-MR-2-bodykit-bumper-body-kit-REAR-SPATS-BD-/360362120679?pt=UK_CarsParts_Vehicles_CarParts_SM&hash=item53e74195e7
just an idea that could be done
-
Thanks Fellas, I do try to think outside the box :lol:
Nice idea Jay, it would work well they are rather expensive on postage!
Think I'd rather go a bit on the drift rear bumper to acheive those spats though :)
-
you can get them cheaper than that it was mainly for the pic lol
-
-
Oh yeah thats better :D
-
@4fc986d471=youdirtyfox:
Oh yeah thats better :D
lol :lol: :lol:
-
Got noooo money for bodykit, as you can see Im playing with buttons :lol:
-
Went to debadge the boot this morning expecting to find the same holes as
in the bonnet, but no the badges were just stuck on!
So a quick TF-90 and soft cut seesion means Im fully debadged now :D
-
