Sam's Proper MX-3 - LT Turbo project *Parting out*
-
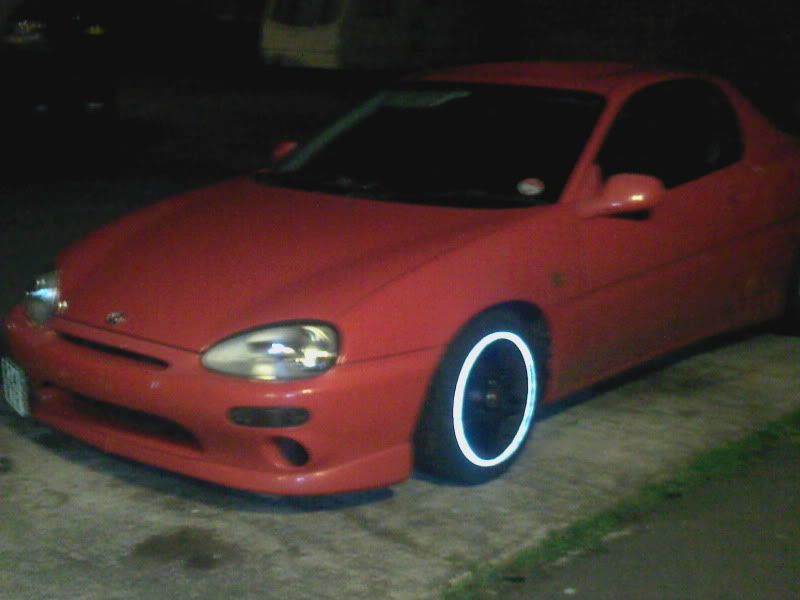
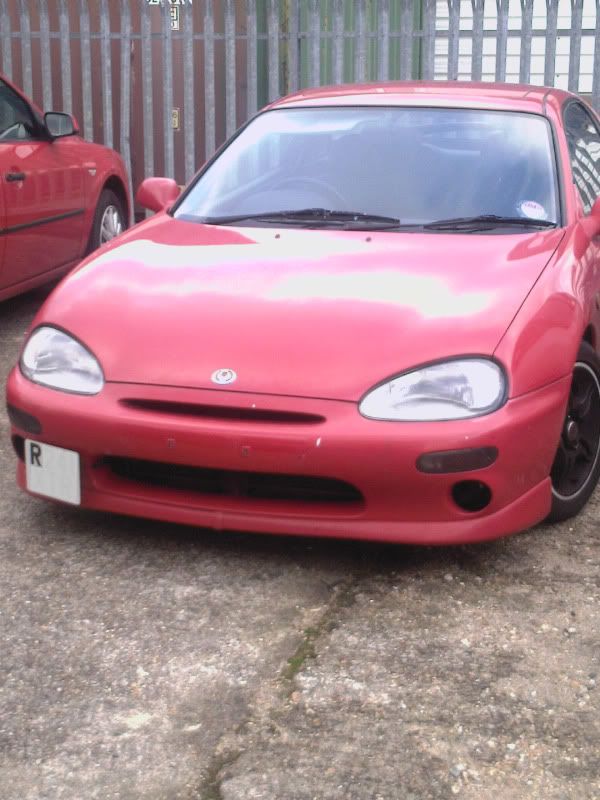
got the new plate on there tonight with a bracket of the towing hook.
-
-
Now you need to fill up the old number plate holes to make the bumper all nice and flush, its it shame about that stretch of water separating us, as i know a good sprayer :lol: :wink:
-
Ooh yes, going to get another red standard bumper and do all the prep/fill work that needs doing indoors (in the warm)
also be alot easier to do this http://www.uk-mx3.com//forum/viewtopic.php?t=3481 while the bumpers off!Did you just flat yours down after removing those metal lugs,
was thinking about hole sawing them out?
-
you could cut them out and fit a pipe around to connect to an induction kit :wink:
-
I had thought about spinning up some alu ducts for the fog light
apertures, but they are a really weird shape!
-
@b14551cee5=youdirtyfox:
Ooh yes, going to get another red standard bumper and do all the prep/fill work that needs doing indoors (in the warm)
also be alot easier to do this http://www.uk-mx3.com//forum/viewtopic.php?t=3481 while the bumpers off!Did you just flat yours down after removing those metal lugs,
was thinking about hole sawing them out?I know someone with standard bumper for sale (in Red) :wink:
Hammy
-
The licenseplate looks AWESOME there! Can you share how you've done that?
Im thinking of doing that too.
And im also thinking of removing the foglights and then add a huge red jdm towing hook to the left one (looking from the front of the car) and a nice tube from the right one to the CAI.
-
sure thing :D
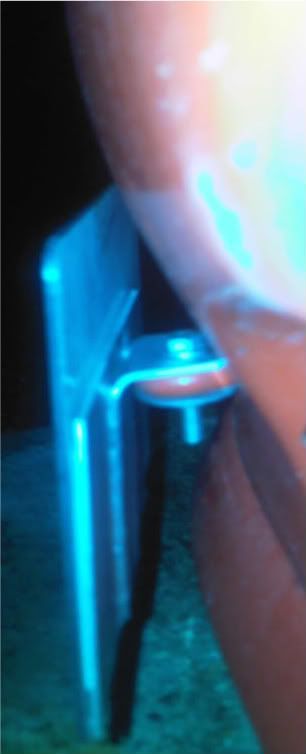
Just an aluminium 'L' shape welded onto a alu backplate with the licenseplate stuck on that,
with double sided strips of strong tape. A 13mm nut & bolt with a large washer underneath to hold it all onto the towing eye.
-
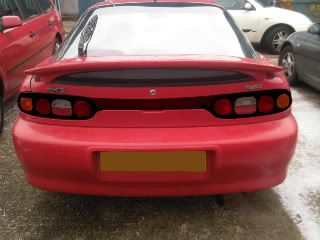
…and heres a really crap photoshop of something Im thinking
of doing to the rear lights.
-
Ok so winter project no.1 will be those rear lights as above
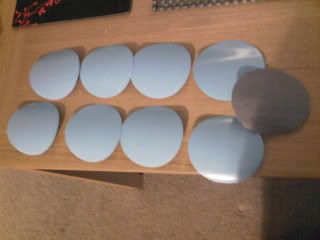
Have cut out 8 x 100mm roundels in vinyl using
a scalpel and metal blank as a guide, to use as
spray masks, so I can paint the existing lights using
plastic primer, satin black and then a final coat of
high gloss laqceur, also managed to cut some 100mm
roundels of flyeye, so I may tint the lights afterwards
except for the reflectors!
Winter project no. 2 involves paint matching to my car a pair
of projector headlights (buying soon as boss came through with a good bonus!) and no.3 getting a second hand bumper
to modify, as below
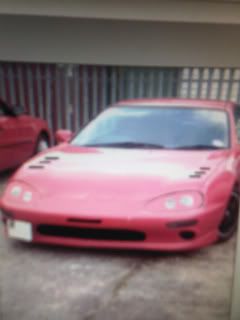
bonnet louvres will be done just before the turbo goes in :D
-
Nice work will look good, also flyeye is NOT illegal on the reflectors so go full black or fit a small red reflector in the back mini window with a eunos high level brake light, the MOT states that lights must not be covered by more than 50% so under that is cool, thats why flyeye is legal even on the front
-
Okta for the infos
still not 100 percent for the Halos yet, almost leaning towards
chrome instead of black/body matched now, so its look vaguely OE
but more modern.
-
please don't rattle can your bumper! I'm only across the water, good rates for fellow MX3 members :wink:
-
No I wouldnt dream of rattlecanny it Gulfy, my wings mirror are in need too!
-
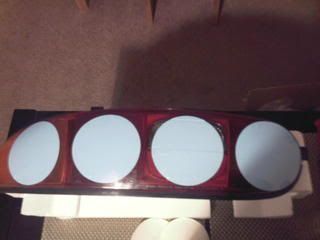
Thanks to barrywhite for the lights, arrived today
started the prepping for paint.
-
I have two spare sets of rear lights, mind if I try your idea out fox?
Always like to ask before hand.
-
Not at all mate go for it, be good to compare :D
-
Notice I changed the dimensions of the indicator
roundel to 90mm as opposed to the rest being 100mm.
cleaned with surgical spirit then keyed up with scotchbrite pad.
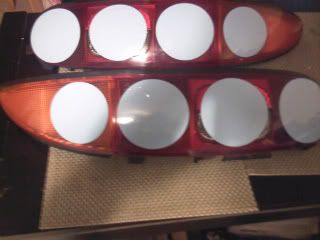
masked the outer plastics.
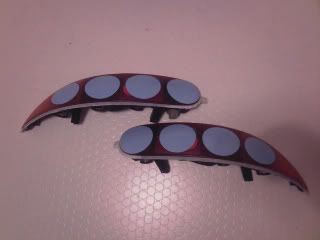
2 coats of plastic primer, scotchbrited inbetween coats.
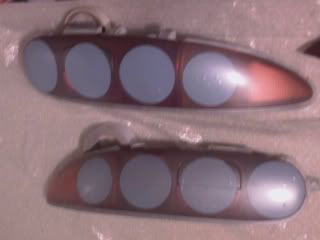
Lori I can let you borrow the metal blanks I used to cut around if you want?
-
After reading about painting last night
a little tip I picked up was to warm the
paint cans up in water from the tap
and it seems to be giving a really nice finish!
Also using a hairdryer to warm up the lights
before and after painting and light scotchbriting
between coats, have put around 8 on.
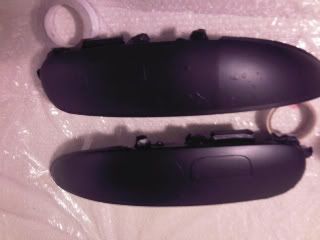
The spray cubicle :lol:
