Sam's Proper MX-3 - LT Turbo project *Parting out*
-
-
I personally wouldnt go any bigger than 16's , 15 x 8 & 0 offset would be preferable :wink:
Anyway back to the job in hand, bunged off what I was going to use as the expansion point,
little clue there as to what car make this rad came from.
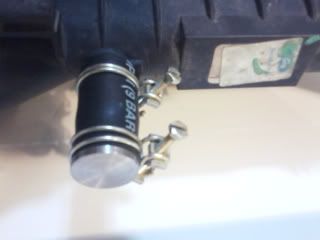
and used Araldite 2000+ 2014-1
to cement on these brackets.
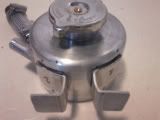
just waiting on the blue hosetails to fix up rad
and step down header tank with before we can test again,
third time lucky!
-
For the Fenders, you can test with fender for 240 Z or MX5 :wink:
-
Would involve a truck load of work I would imagine, and some serious £££ on rims, but would be pretty unique and very awesome 8)
-
Looking more into it and pricing up rims from the US and researching cutting up arches its not as bad as I first thought, using my 195 tyres on a 15x8J 0ET (9J is 20$ more) Rim will give a nice stretch look too!
would love these 8) Could you phothoshop them on ROKA or anyone please :D
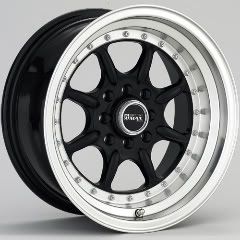
or these!
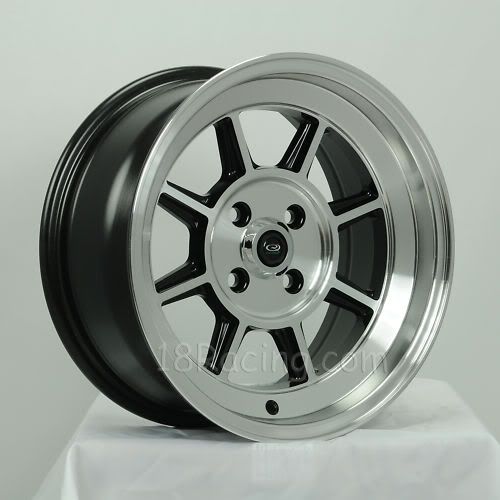
serioulsly considerng do this after the turbo, but i got to stay focused and buy the clutch :roll: :D
-
Been up since 5:30 this morning all ready to fit up the radiator…
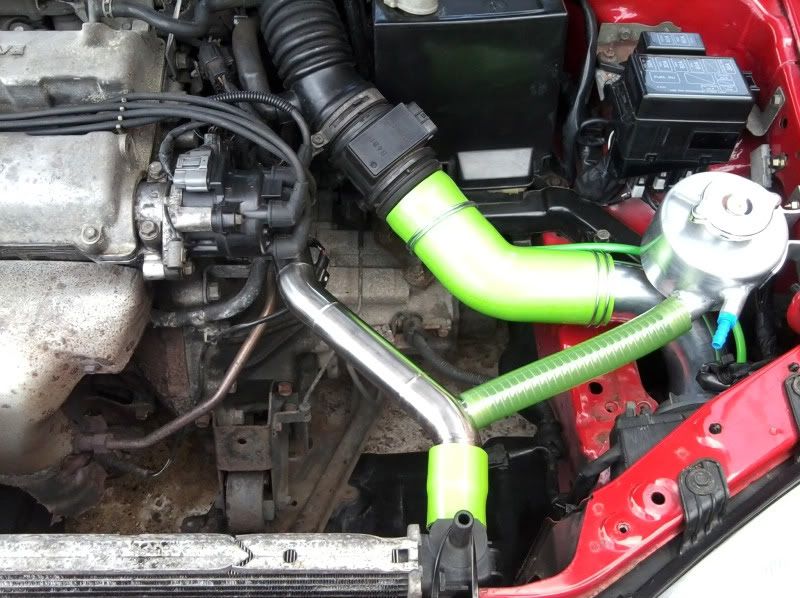
unfortunately I cant finish the install as the thermostat housing is 32mm not 35mm as I first measured :cry: means I need to order another reducer for that end before I can complete the install.Some progres and fitment pictures though, as you can see the bottom hose and mounting point is spot on.
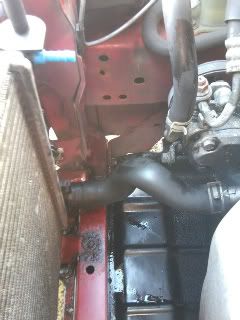
The all important gap (around 3") for the boost pipes to pass through.
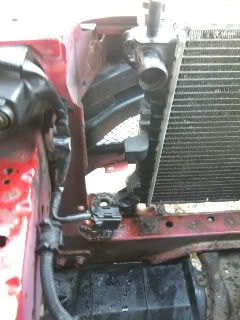
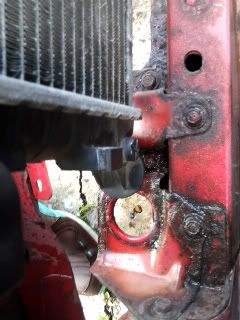
slam panel needs new holes cut
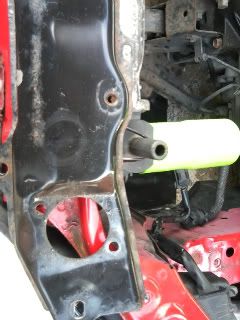
heres a good tip for cutting silicone hose, run the knife around a hose clip
to get a nice clean straight edge.
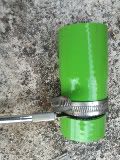
so this is about as far as I can go today, got to decide wether to put it all back to stock ready for monday or car share with the missus until the reducer turns up…
-
great work very neat 8)
-
Thanks mate, have ordered the reducer should be here wednesday so I didnt bother putting it her back running for monday!
-
Looking good, cant wait to see this beast finished
-
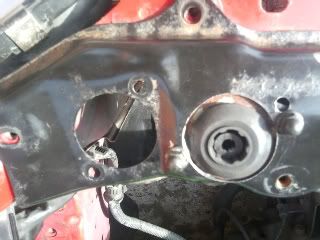
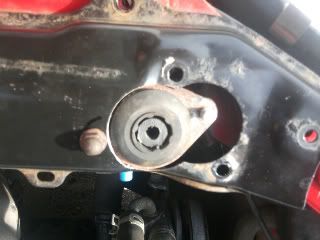
Hole sawed the slam panel today to accept the new rad mounting pegs,
which needed cutting down slightly so the bonnet would shut!
Will remake this section in stainless at a later date, but for the mo its
holding the rad in very snug…
-
Im a firm believer in never throwing anything away
as you never know when you might need it, payed off again today
with this little bracket to hold in the lower passenger side rad mount peg.
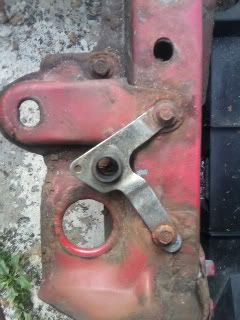
reducer showed up today, so just need to mount and wire in
slimline rad fan and fill 'er up and bleeder'
-
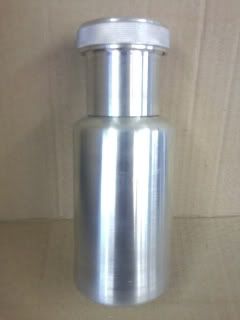
P/S fluid bottle assembled, welded and polished today.
-
That looks the shizzle
-
:D :wink:
I certainly owe our Polish welder a few more bottles of Lech for working
in His lunchhour :lol:
Just got to find out exact measurements for pipe sizes/layout and fab a bracket now.
-
As you have gone to all this trouble, would it be worth moving the bottle some where else and rerouting the pipes a little to make the engine bay a little tidier than mazda made it out to be :D
-
Will have to look see if theres anywhere else it could go? was thinking
it would look nice next to an alu washer bottle with the same filler neck,
and maybe getting some symbols stamped in the caps
-
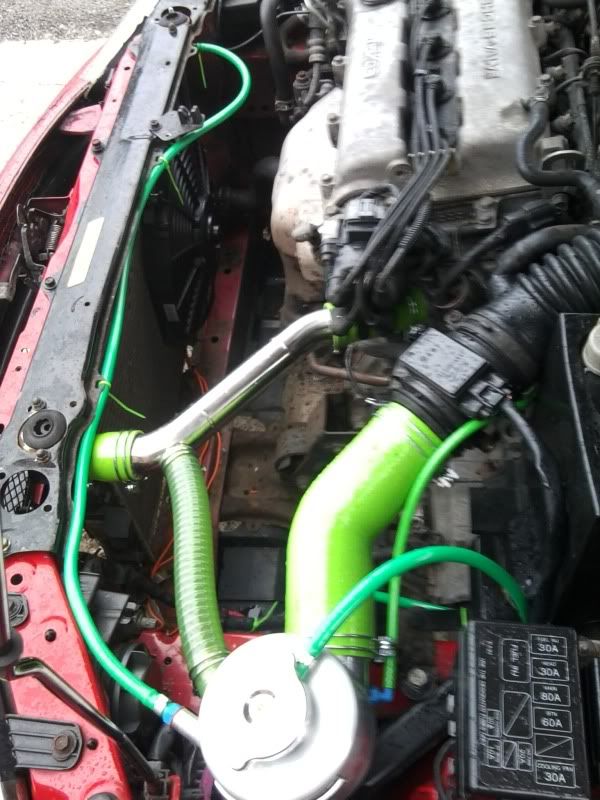
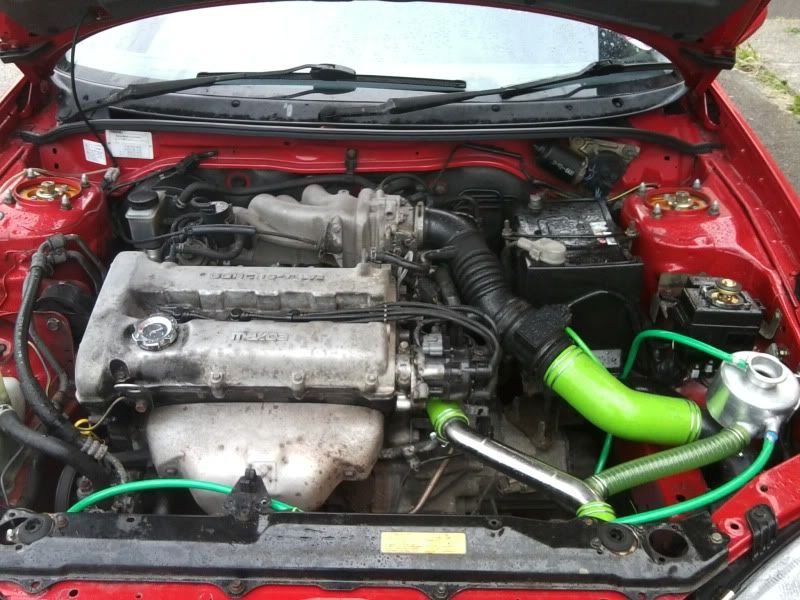
Fully operational again! apart from a few teething leeks its great,
runs no hotter than normal, induction kit sounds great too!
btw its a Ford Focus 01> radiator.
-
alright after some alterations to the system its now completely leak free
and holding pressure nicely, it was the expansion inlet onto the tank that has was causing problems and the wrong size hose clip onto the thermostat.
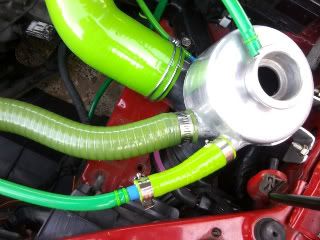
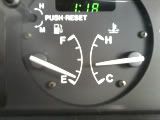
She now runs even cooler it would seem…
-
Put some petrol in your car!! :wink:
-
lol she'll be arlight till wednesday, usually only fill up £25 a time :wink: